You can customize both the workflow and its individual process stages from the Workflow Setup section. Here’s how:
A. Customize Workflow-Level Settings
1) Go to Dashboard > Workflow Setup.
You’ll see all the workflows you’ve imported or created.
- For pre-built workflows, import them first before customizing.
- For custom workflows, customization is available after publishing.


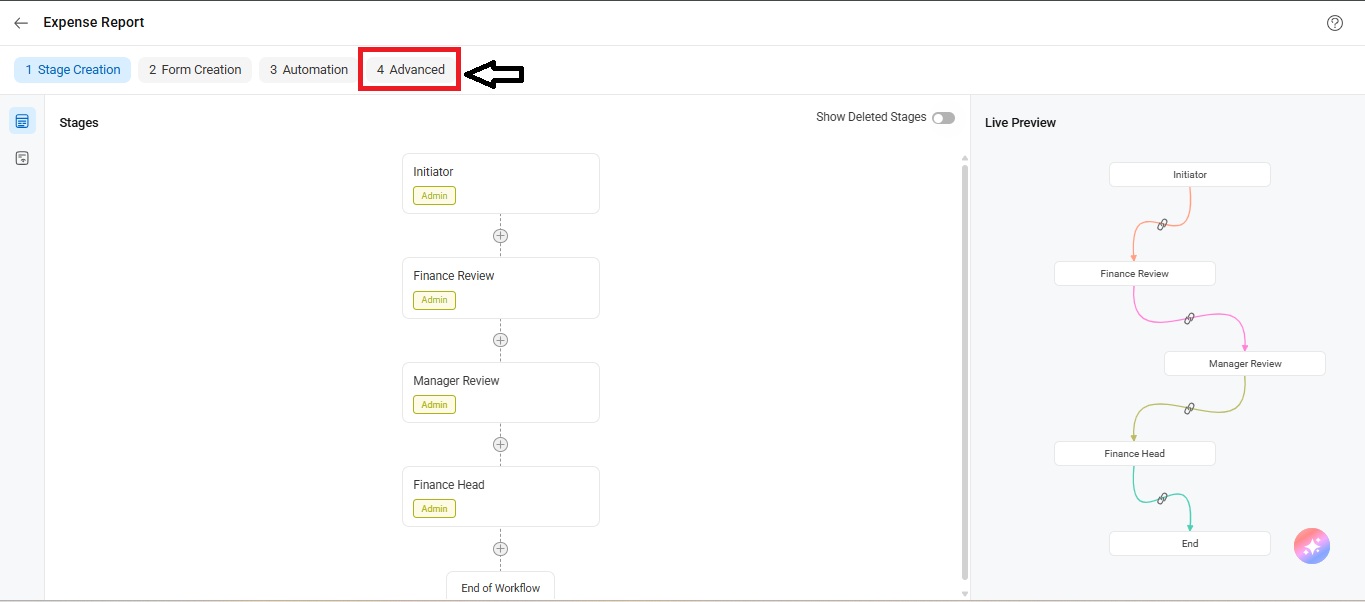
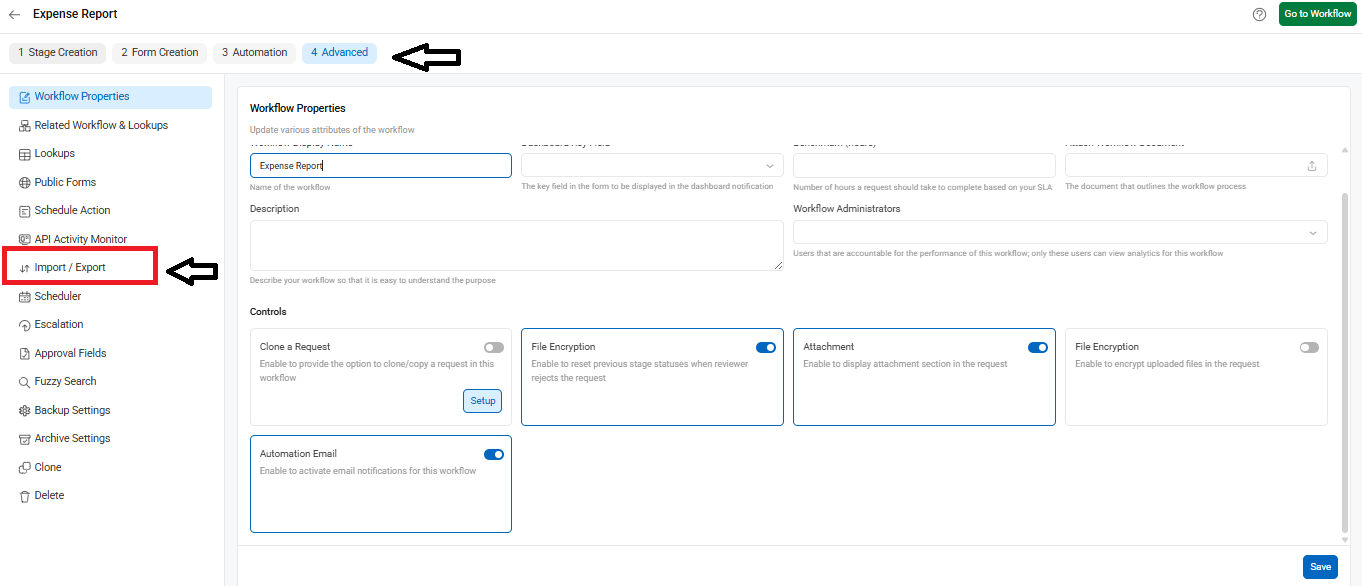
2) Open Advanced Settings
Find the workflow you want to change, and click on the Advanced option.
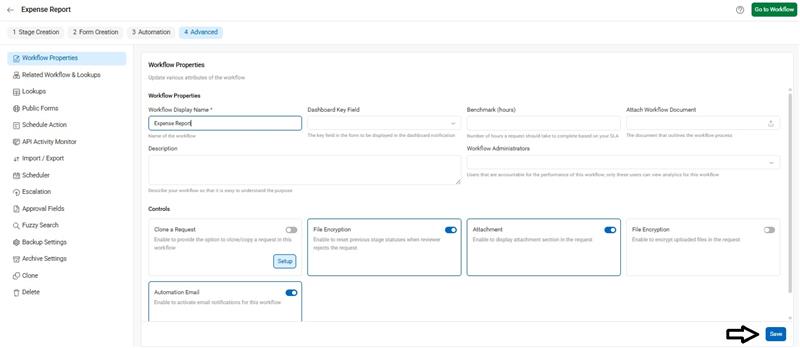
3) Modify Workflow Properties
Under Workflow Properties, you can configure:
- Benchmark (hours)
- Dashboard Display Field
- Enable Clone
- Is Active
- Owners
- Reset Status on Reject
- Enable Attachment
- File Encryption
Click Save after making your changes to apply the updated workflow settings.
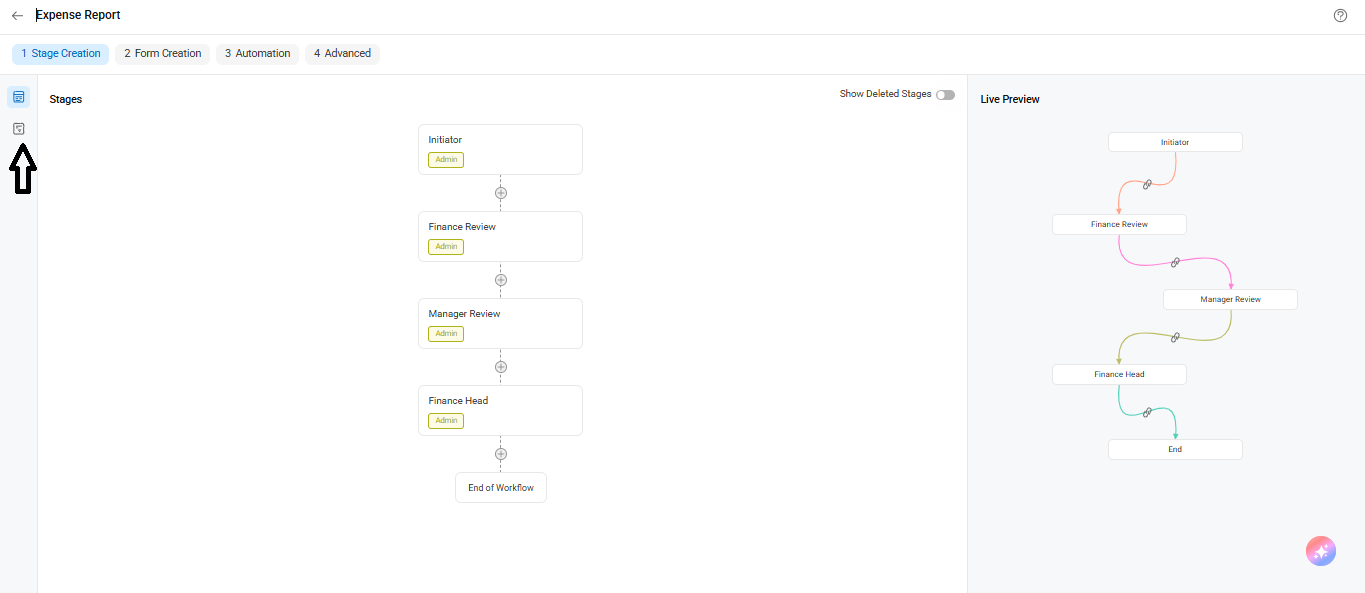
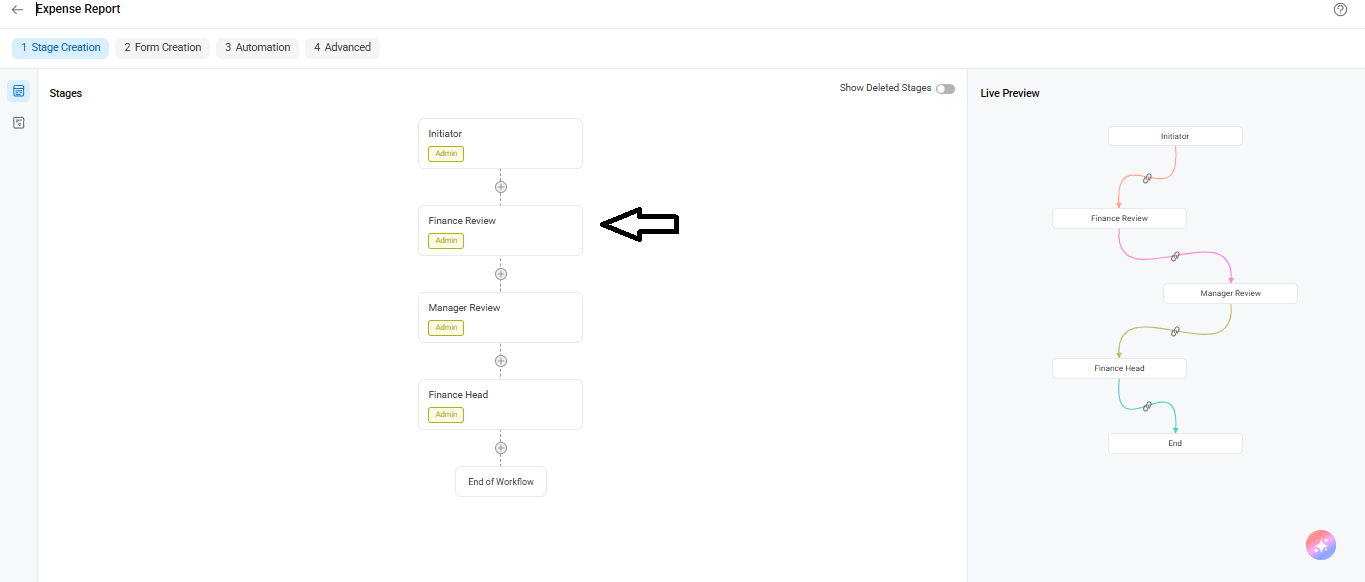
4) Flowchart – Click on Workflow, then click the Preview icon to view the process flow and the stages involved in the workflow by simply looking at the flowchart.
5) Lookups – Go to the dashboard, click on Lookups, and then click Advanced to configure lookup conditions that populate field values in a workflow from a lookup table.
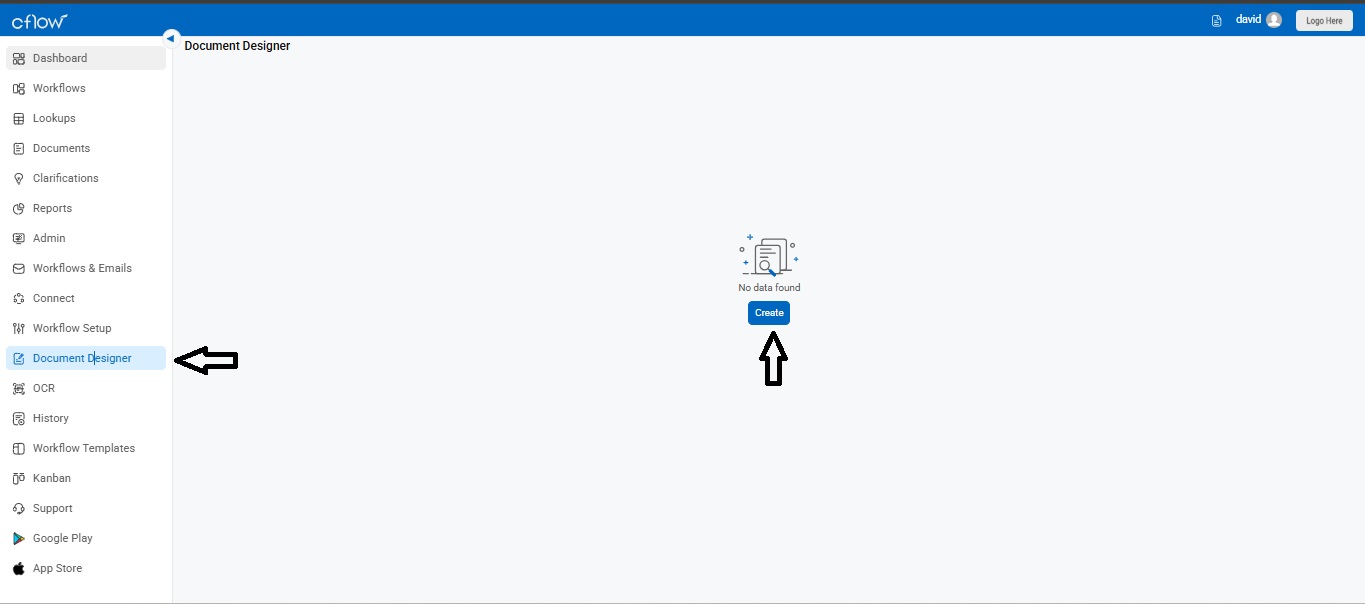
6) Document Designer – Go to document designer in the left side of the main menu → Document Designer to create custom PDF documents like invoices, bills, receipts, or any formatted document.
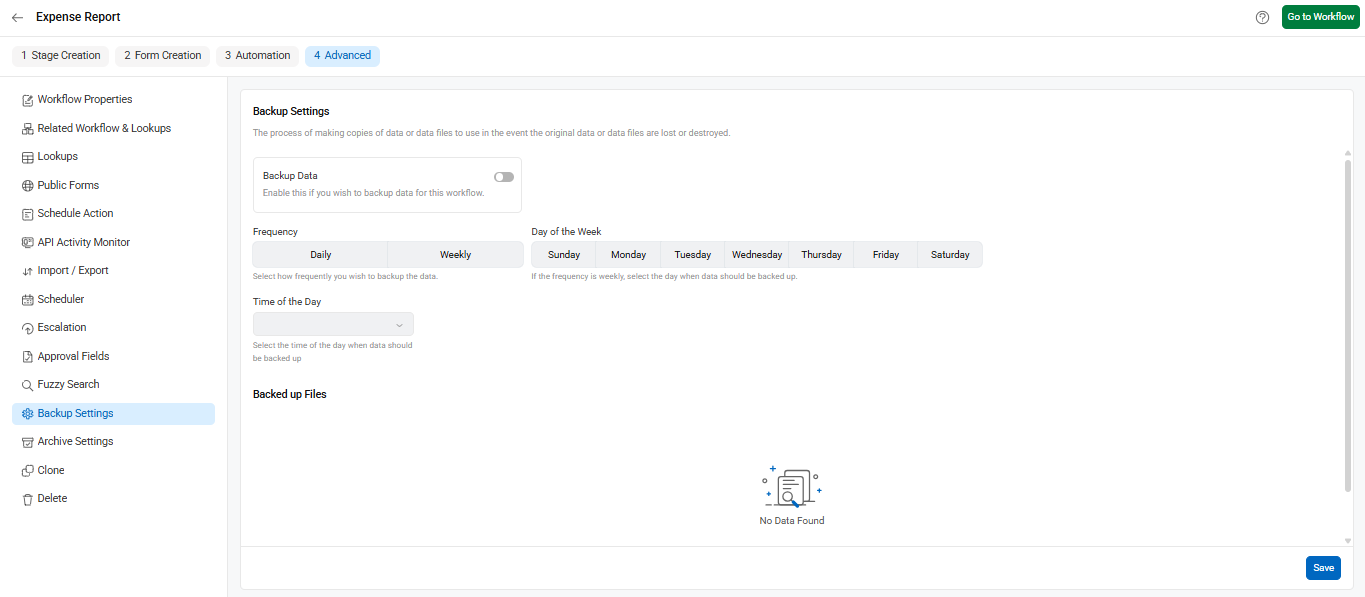
7) Backup Setting – Go to Workflow Setup → Workflows → Advanced → Document Designer to set up backup for each workflow. This helps you restore data and prevent data loss.
You can customize the following settings at each process stage of a workflow.
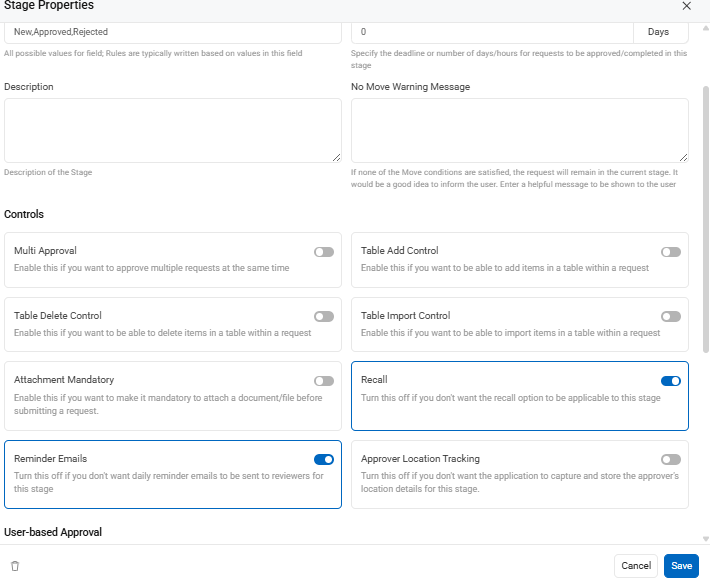
Form Properties – You can edit and manage the properties of the form at each stage of the request. Click on the approval stage to enable multiple approvals, table add/delete controls, mandatory attachments, and many other form attributes.
Notifications – You can customize email notifications. These are typically sent to reviewers when a request is waiting for their action.
Rules Engine – You can configure set, move, trigger, email, and API conditions within a workflow.
Scheduler – Cflow provides a scheduler feature to plan actions to be performed at specific times. It is typically used for auto-approvals.
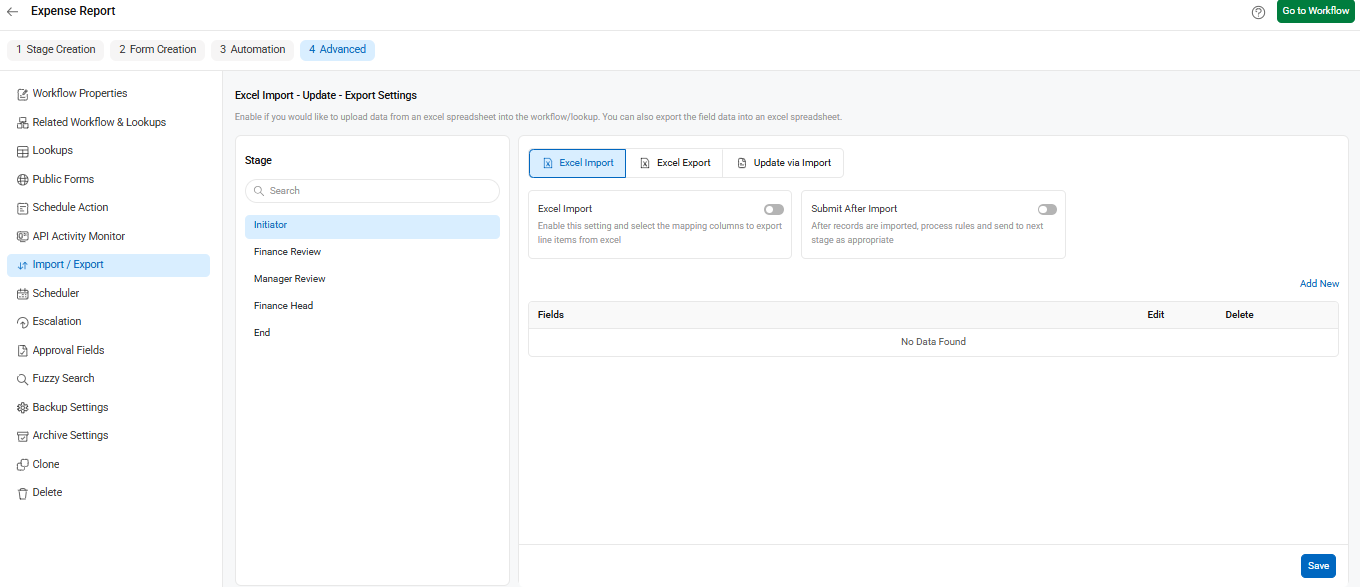
Import/Export – You can import field values from Excel into Cflow when migrating historical data. Likewise, you can export data from Cflow to Excel when you need to represent it in spreadsheet format.
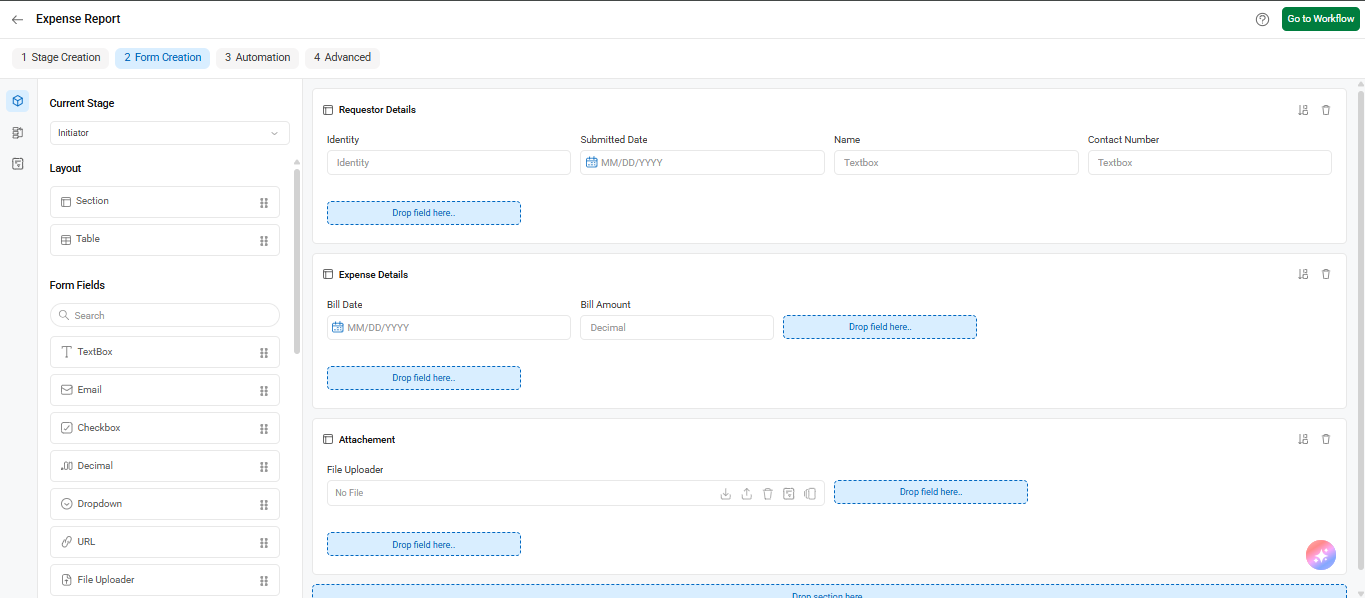
Form designer – You can customize field properties, rearrange fields, and activate or deactivate them. Field properties can be adjusted at every stage of the workflow.