Access permissions in Cflow help define what actions a specific role can perform within the application across different areas – Workflows, Lookups, Reports, and Support.
Follow the steps below to configure access permissions:
- Navigate to Admin → Access Permission
- Select the role you want to configure (e.g., Admin or User).
You will see different tabs such as Workflows, Lookups, Documents, Reports, and Support on the left panel.
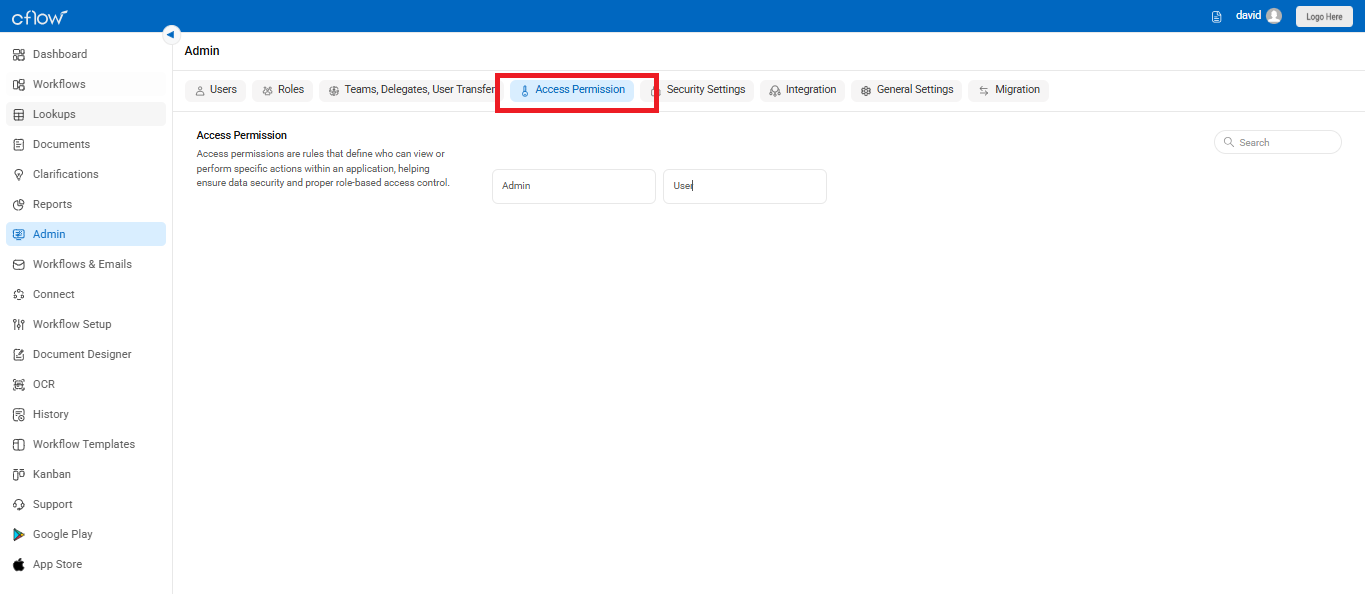
Select the role to set the access permission. Access permissions can be set for the following categories in Cflow – Workflows, Lookups, Reports and Support.
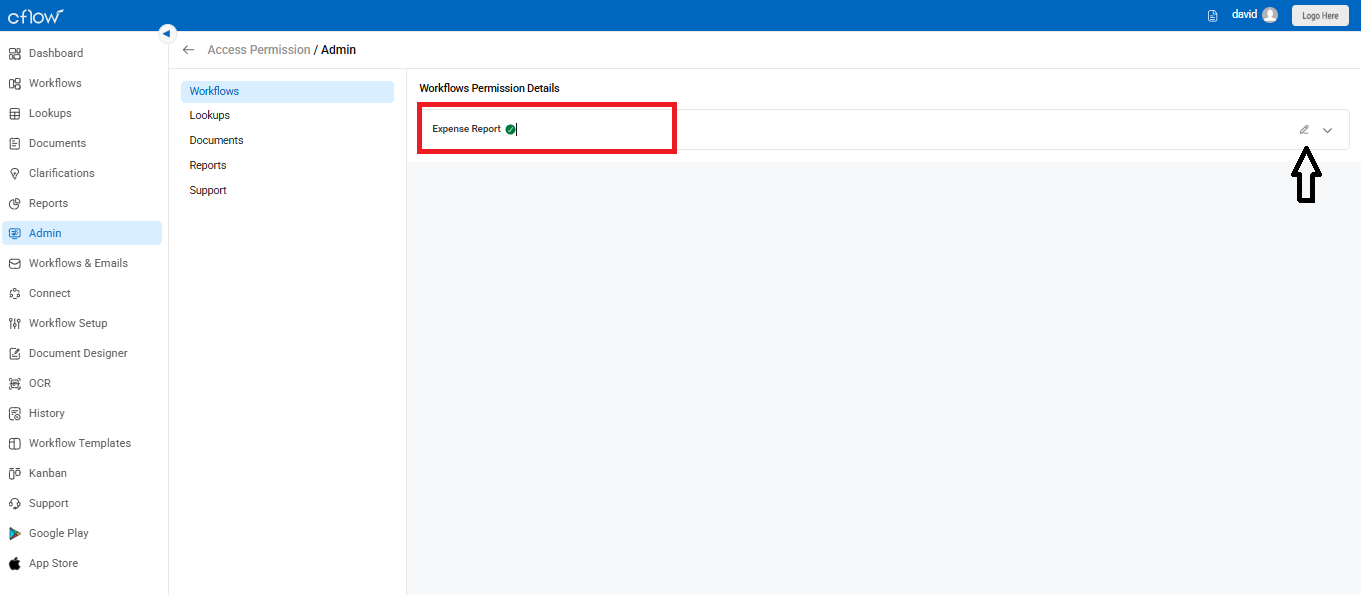
In the Workflows category, you can set the permission for a role to view and edit the form. Select the checkbox at the stage where you want the user to view and edit. View can be set to My Items, My Team, All Items. This setting lets the user in this role to view the form. Edit permission can be set to My Items, My Team, All Items, None. This setting lets the user in this role to edit the form.
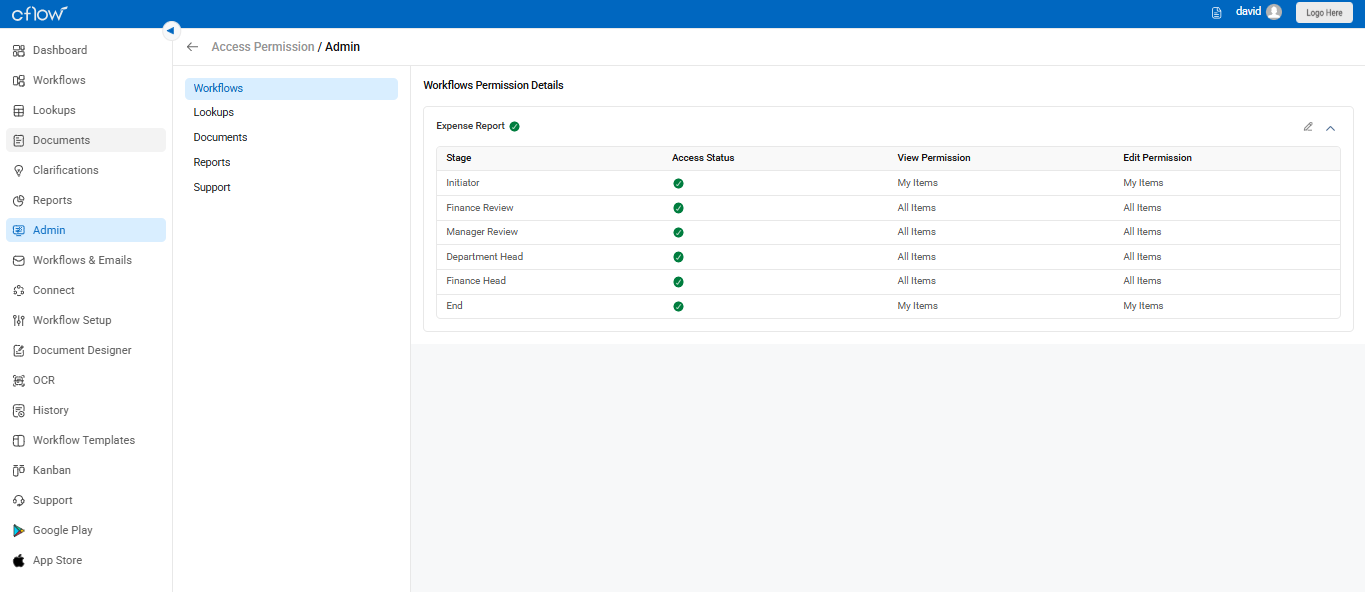
Note: On changing the initiator and reviewer role, the access permissions for the previously assigned role will be automatically removed. The access permissions for the newly assigned role will be updated in workflows.
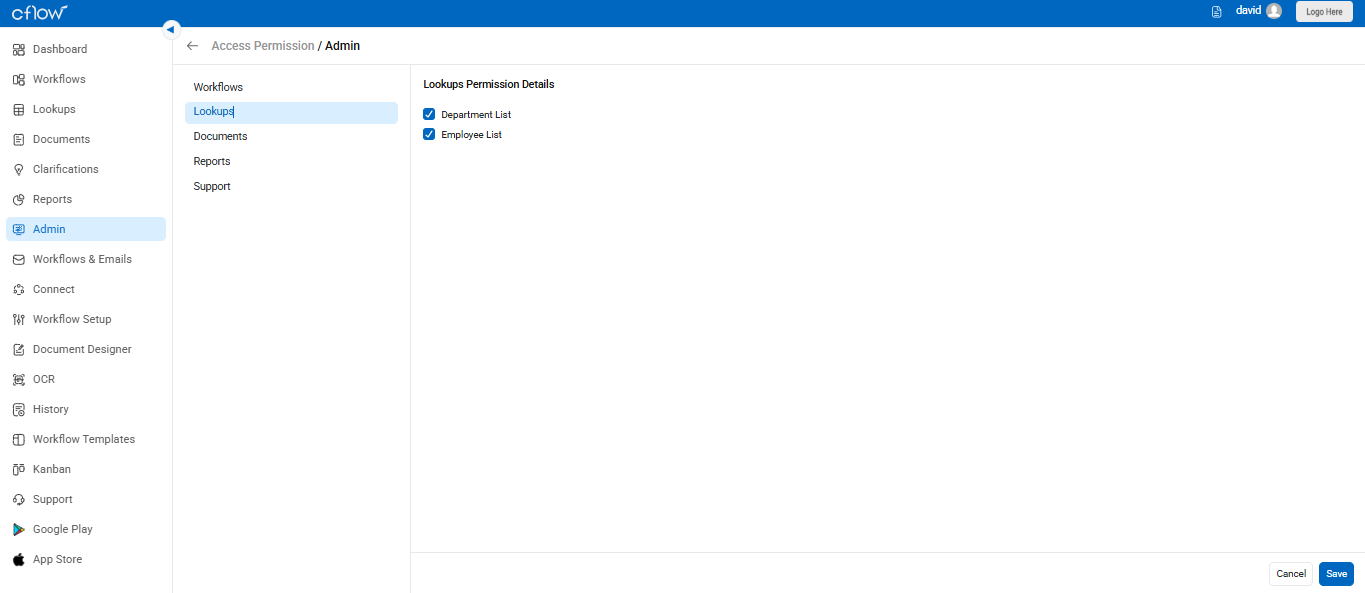
In the Lookups category, select the checkbox of a Lookup in Lookup permission details. This setting lets the users in this role to view and add data to the selected lookup.
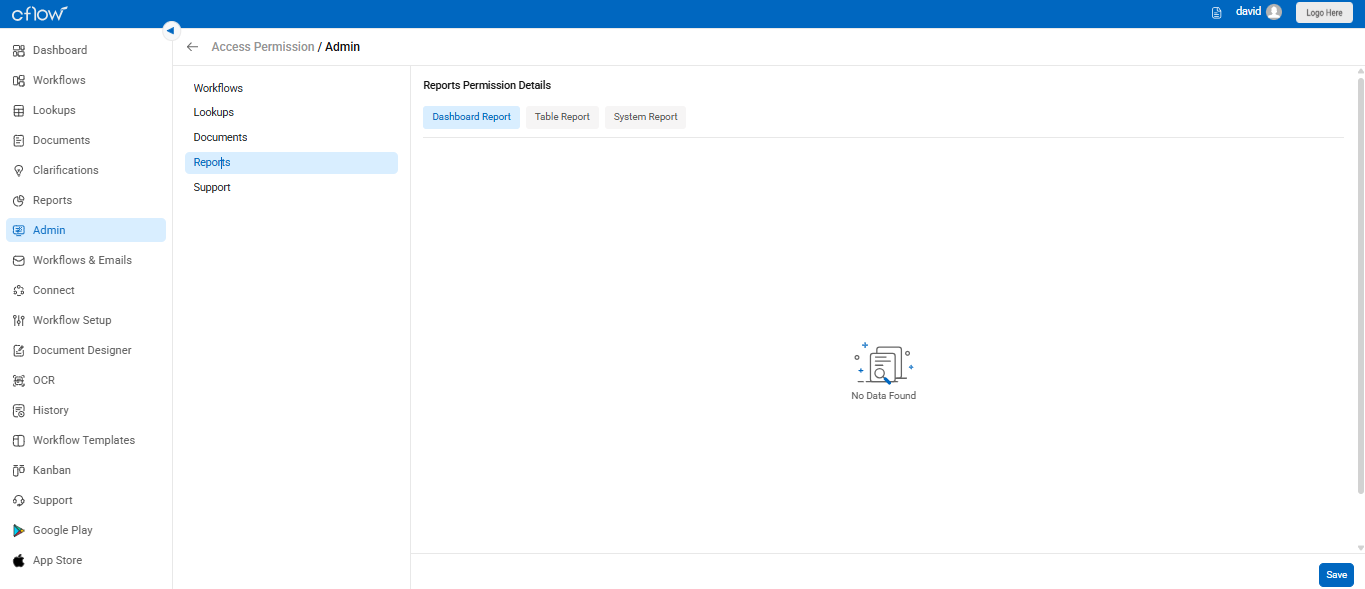
In the Reports category, select the checkbox of the reports in Report Permission details. View Permissions can be set to My Items or All Items. This setting lets the user in this role to view the selected reports.
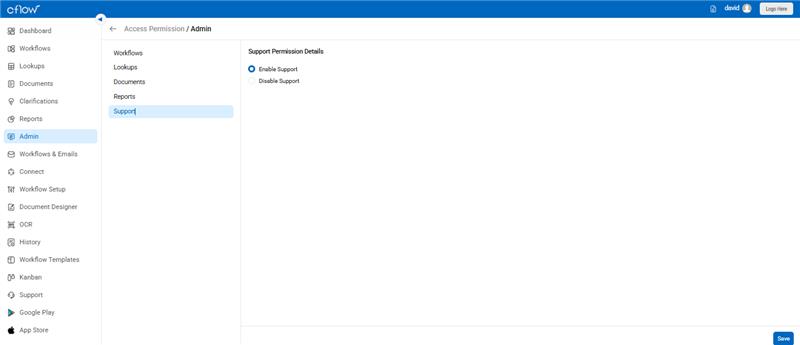
In the Support category, select the checkbox Enable Support. This lets the users in this role to view the Support icon in the left menu. This can be used to raise support tickets if the users face any problems with the Cflow Application. The Cflow Support team is automatically notified and will resolve the issues as soon as possible.
Click on the Save icon to save the configuration. Click on the Reset icon to cancel the changes.