The following steps will guide you through the creation of a brand-new workflow.
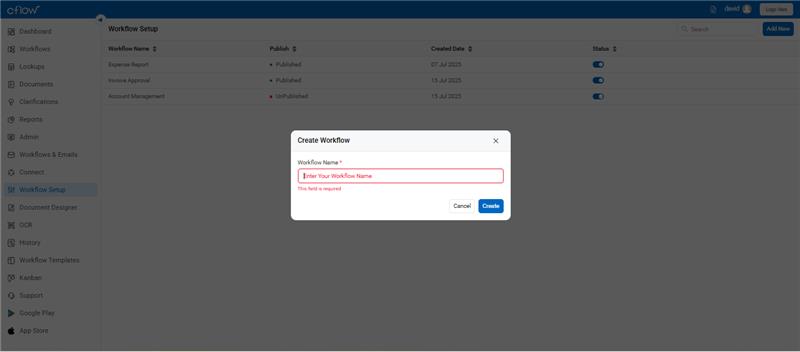
- Go to Workflow Setup from the left menu.
- Click the “Add New” button at the top-right.
- Workflow Naming
A popup appears prompting you to enter a workflow name.
The name should reflect the workflow’s purpose (e.g., Capex Approval, Expense Report).
Once the name of the workflow is assigned, the next step is to add stages to the workflow. A stage is a unique step in the process that either gathers information or where an approval action is performed. Cflow creates the first and the last stage (END) by default, users need to add the stages in between these two steps.
- Workflow Canvas Setup
Click the + Add Stage button to insert process stages in between.
- Parallel Stages
- Use the “+” icon beside a stage to add parallel reviewers.
- Useful for multi-reviewer flows (e.g., Manager & Department Head reviewing simultaneously).
- Form Creation
- Go to the Form Creation tab.
- Drag sections and fields from the left panel into the canvas.
- Customize field properties by clicking on each field.
- Stage Properties
Click on a stage to assign:
- Reviewer role
- Status values (e.g., New, Approved, Rejected)
- SLA or any special control (e.g., Recall, Table Controls)
- Automation Rules
- Go to the Automation tab.
- Click Add Rule → Define conditions and actions (e.g., Move to Manager Review).
- Add email notifications if needed.
- Advanced Settings
Configure lookups, SLAs, or public access under the Advanced tab.
- Publishing
Click the Publish button at the top-right. Once published, they can be activated and used.