A role in an organization represents a specific title or responsibility – for example: Manager, Admin, or Sales Executive. Cflow allows you to create roles and assign users to them to define what actions they can perform in workflows. A single user can be assigned to multiple roles, and a single role can be linked to multiple workflows.
Steps to Create a New Role
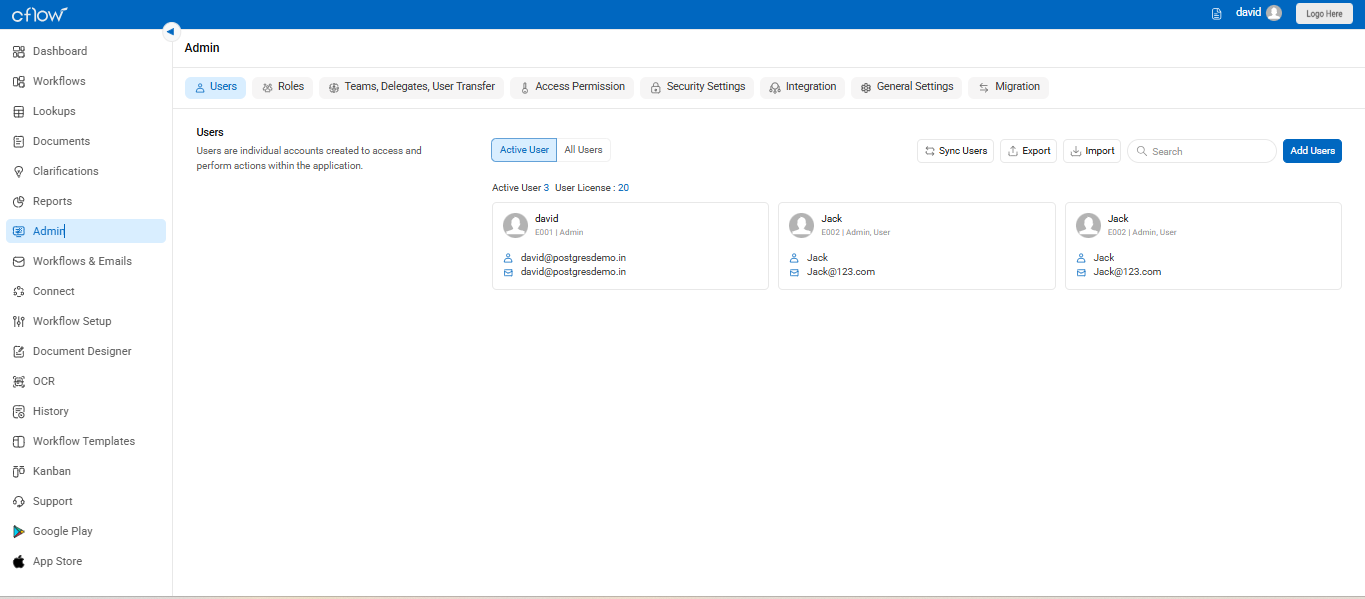
- Navigate to Admin from the left menu panel.
- Click on the Roles tab next to Users.
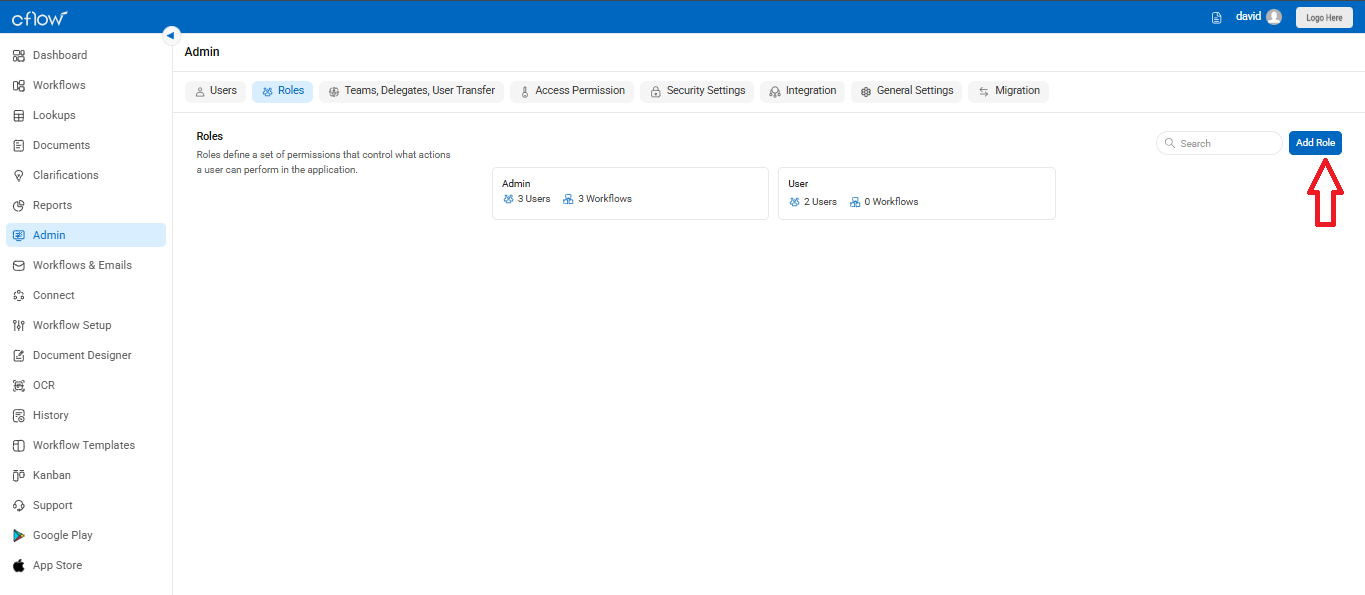
- Click the Add Role button on the top right of the page.
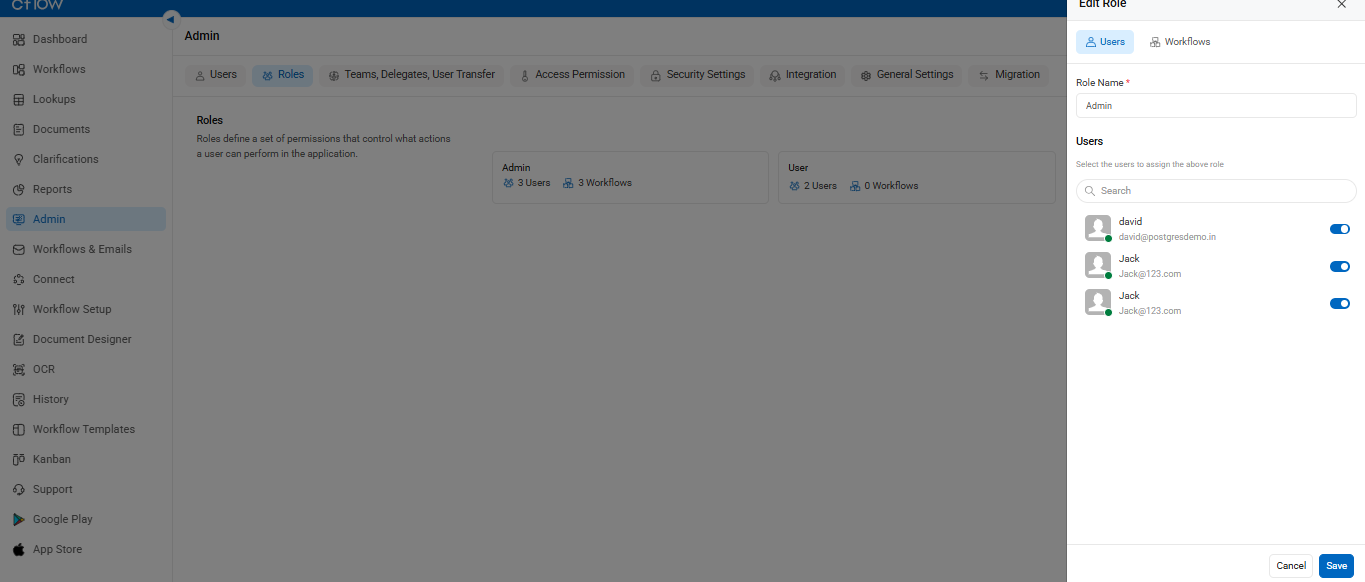
- In the panel that opens on the right, enter the Role Name.
- Switch to the Users tab and use the toggle next to each user to assign them to this role.
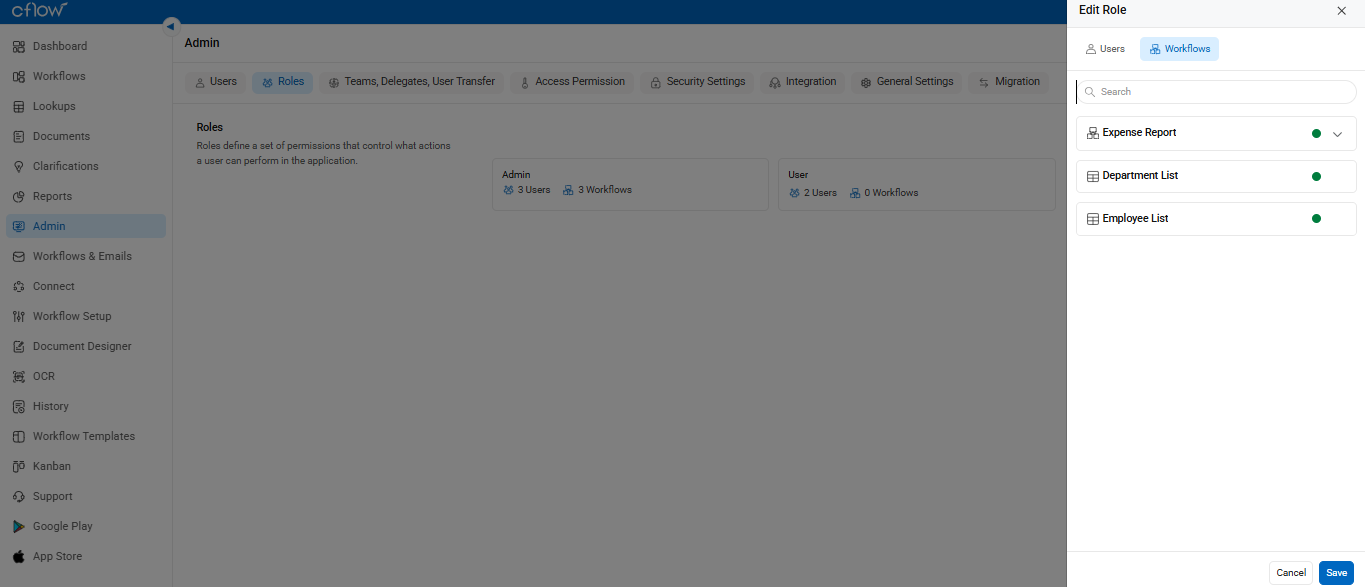
- Switch to the Workflows tab and toggle ON the workflows this role should access.
- Click Save.
Post-Creation Role Management
- After creating roles, you’ll see them listed along with:
- The number of users assigned to the role.
- The number of workflows the role is linked to.
- Click on the user count to view or modify users under this role.
- Click on the workflow count to view the workflows and specific stages this role has access to.
Important Note Before Deleting a Role
Make sure the role is not assigned as a reviewer in any workflow stage.
To delete:
- First, reassign the reviewer for that stage.
- Then return to the Roles tab and delete the role safely.