In Cflow, named approvers can be automatically populated in your workflow based on user-defined criteria using the Lookup Configuration. This is especially useful when different departments have their own specific approvers.
- Navigate to Lookups
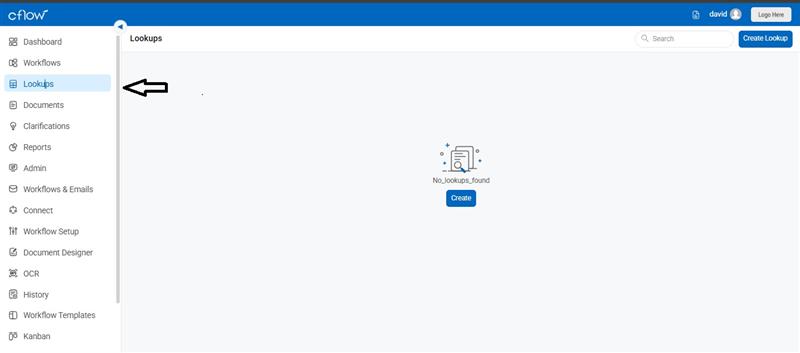
- From the Cflow dashboard, go to the left navigation panel and click on “Lookups”.
- Click the “Create” button to set up a new lookup table, or select an existing one like Department List.
- Create or Update Lookup Table
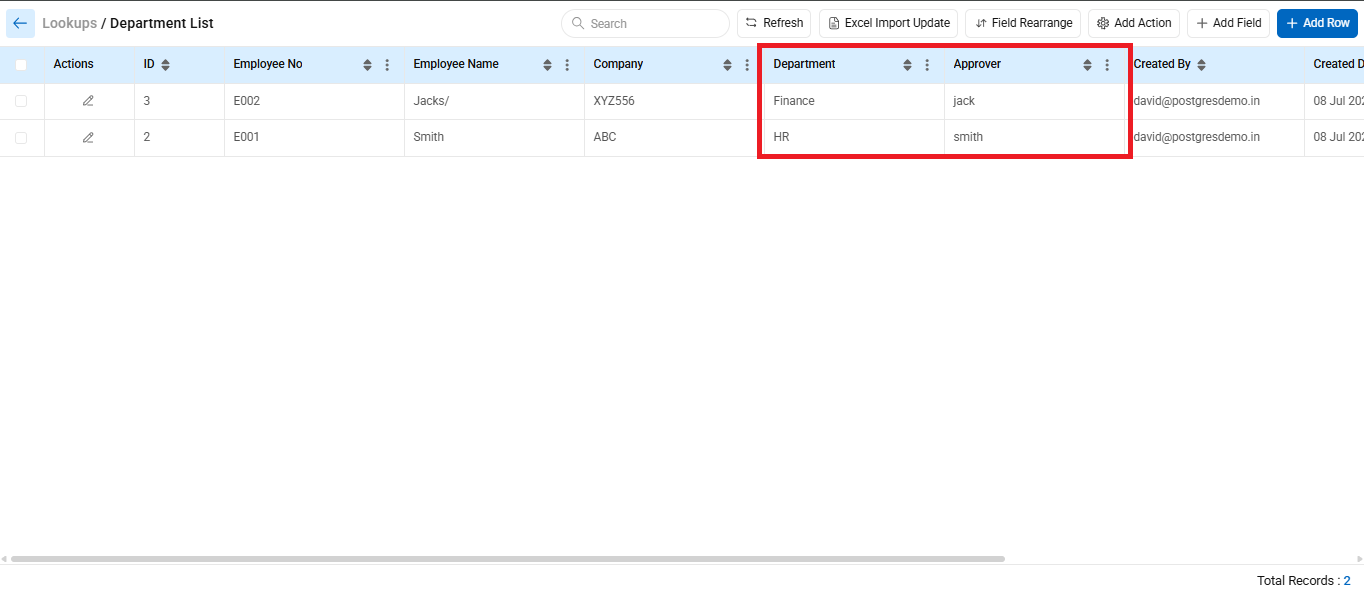
In the Lookup Table (e.g., Department List), define your data with fields such as:
- Department
- Approver
For example, if the Department is “Finance,” the Approver can be “jack.” If it’s “HR,” the Approver can be “smith.” This mapping is what Cflow will use to populate the approver field dynamically.
When the department is selected, the approver is automatically assigned from the Lookup (Master Table) in the workflow.


- Configure Lookup in Workflow
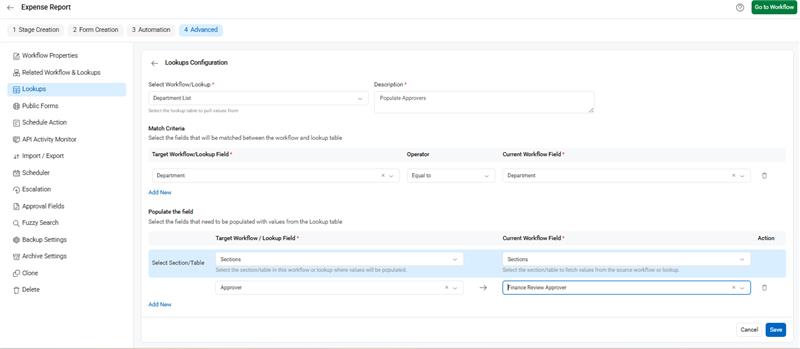
- Go to Workflow Setup > Select Workflow > Advanced > Lookups.
- In the Lookup Configuration screen:
- Select the Lookup Table (Department List)
- Set a description (e.g., “Populate Approvers”)
Under Match Criteria, map the department field from your workflow to the department field in the lookup table
- Populate the Approver Field
In the “Populate the Field” section:
- Select the section where the approver field is placed (e.g., “Requester Details”)
- Then, choose the approver field you want to auto-populate (e.g., “Finance Review Approver”)
- Once saved, Cflow will pull the approver name based on the department selected in the form.
Example
When a user selects “Finance” in the Department dropdown while filling the form, the “Finance Review Approver” field is automatically populated with the value “jack”, pulled directly from the Lookup Table.
This dynamic population simplifies approval logic and ensures the correct approvers are selected without manual input.