Cflow Connect enables smooth integration between Cflow workflows and third-party applications through API connectivity. With this feature, you can automate data exchange and enhance workflow efficiency across your business tools.
How to Use Cflow Connect
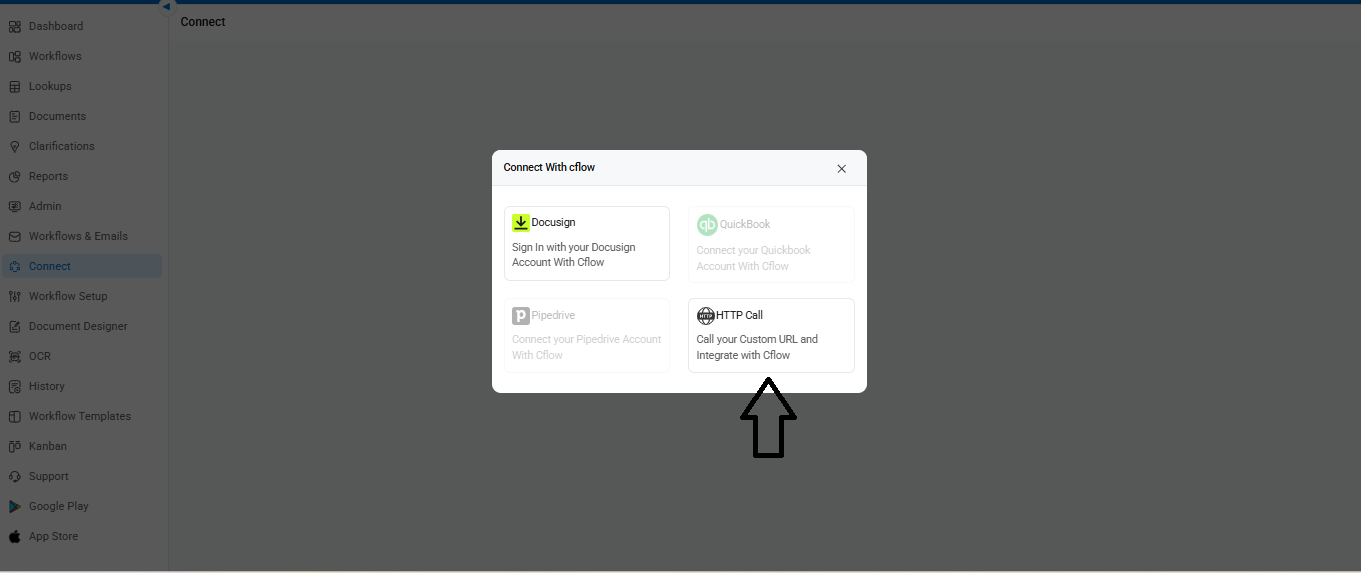
- Accessing Connect
Navigate to the left menu and click on Connect.
If no integrations exist, click the Create button to begin. A popup will appear showing available integration options like DocuSign, QuickBooks, Pipedrive, and HTTP Call.
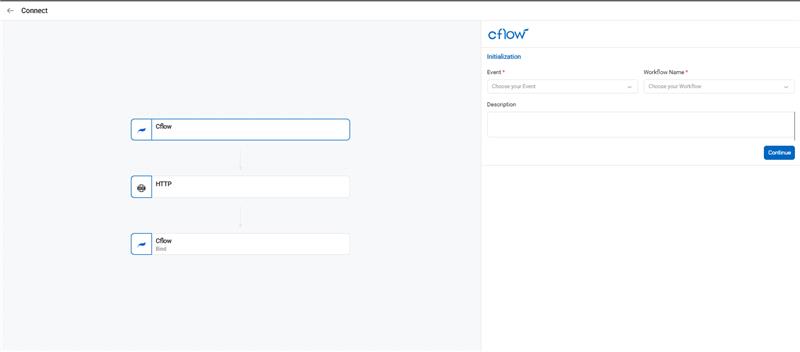
- Initiation:
Initiate the connection by triggering the event. The events can be:
- Submitting a request
- Recalling a request
- On form load when initiating a new request
- Updating a field value
Select the required workflow name, provide a description, and continue to proceed with the configuration.
- Configuration:
- Select the relevant stage name and the rule name from the list within the workflow.
- Define the target URL for the API endpoint.
- Choose the desired API action (GET, POST, PUT, or DELETE).
- Click save to proceed with the authorization.

- Authorization:
- Select the authorization type for the API call.
- Specify authorization URL, username, and password.
- Click save to proceed with mapping.
Headers, Query Parameters, and Input Parameters:
- Specify the headers containing the API action’s keys and values. You can add new or edit the existing keys and values.
- Add query parameters and other relevant input parameters for the API action.
- Define the request parameters in either JSON or by selecting Form data from Cflow and add the parameter name and values.
- Click Save to proceed with Testing.
- Testing and Finalization:
Before finalizing the API action it is necessary to test the events.
- Click “Test” to validate the configuration to ensure a successful call to the HTTP endpoint.
- Integrate and perform the test and once it is successful, save the connection.
