If you’re working with a table in your workflow and want to populate it using Excel, Cflow lets you do it in just a few steps. Here’s how:
- From the Cflow Dashboard, click on Workflow Setup in the left-hand menu.
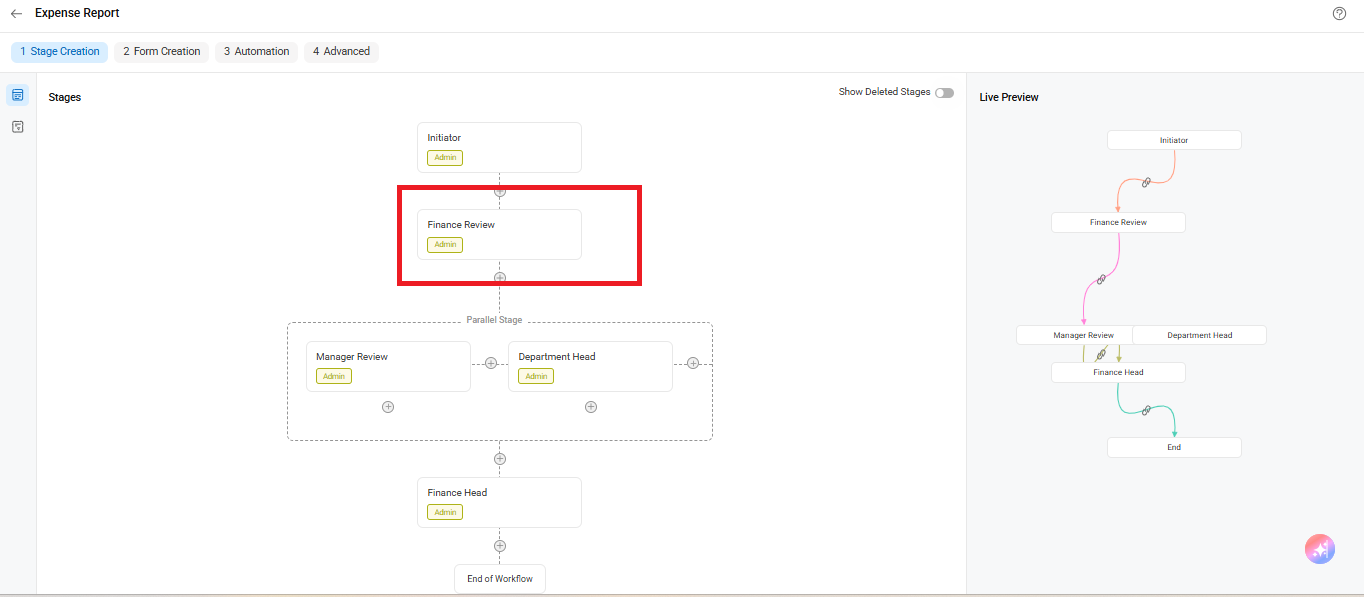
- Once you’re inside Workflow Setup, choose the stage where your table is located.
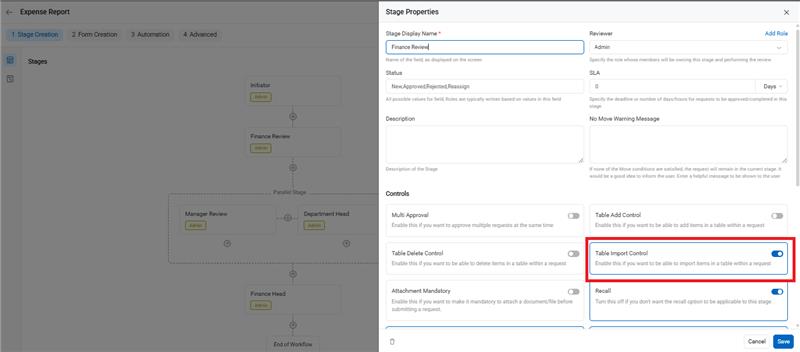
- Click on the selected stage. A panel titled Stage Properties will appear.
- Scroll down to the section labeled Controls.
- Turn on the toggle switch next to Table Import Control.
- Click Save to apply the change.
This enables the Excel import functionality for that stage.
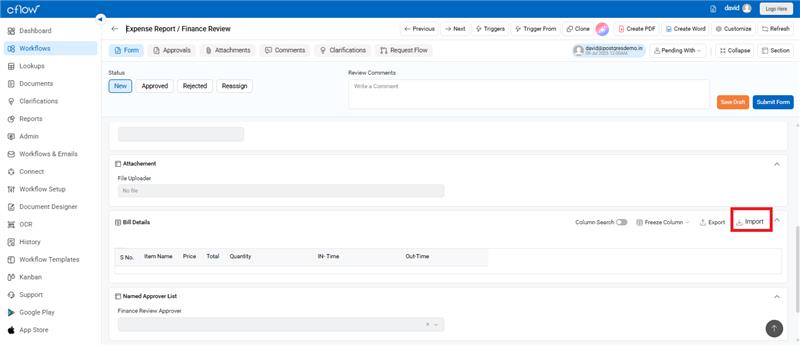
- Return to the live workflow form using the Workflows option in the left-hand menu.
- Scroll to the section where the table is located.
- You’ll now see an Import button at the top-right corner of the table, click this to upload your Excel file.
Important Notes When Importing from Excel:
- The column names in your Excel file must exactly match the column headers in the Cflow table.
- Ensure data types (text, number, date) also match between Excel and Cflow.
- You can import up to 200 line items at a time.
- Serial numbers are optional in Excel – Cflow will auto-generate them.
- Use the “Print Table” option if you want the table to appear in PDF/Word exports.