Cflow enables you to design workflows visually using a flowchart-style interface. You can define how a request moves from initiation to completion by linking different stages through a simple drag-and-drop canvas.
Below is a step-by-step guide to building and configuring a workflow:
- From the left-hand navigation, go to Workflow Setup. You’ll see a list of all workflows created in your account.
Click Add New to create a fresh workflow or click an existing workflow name to edit it.
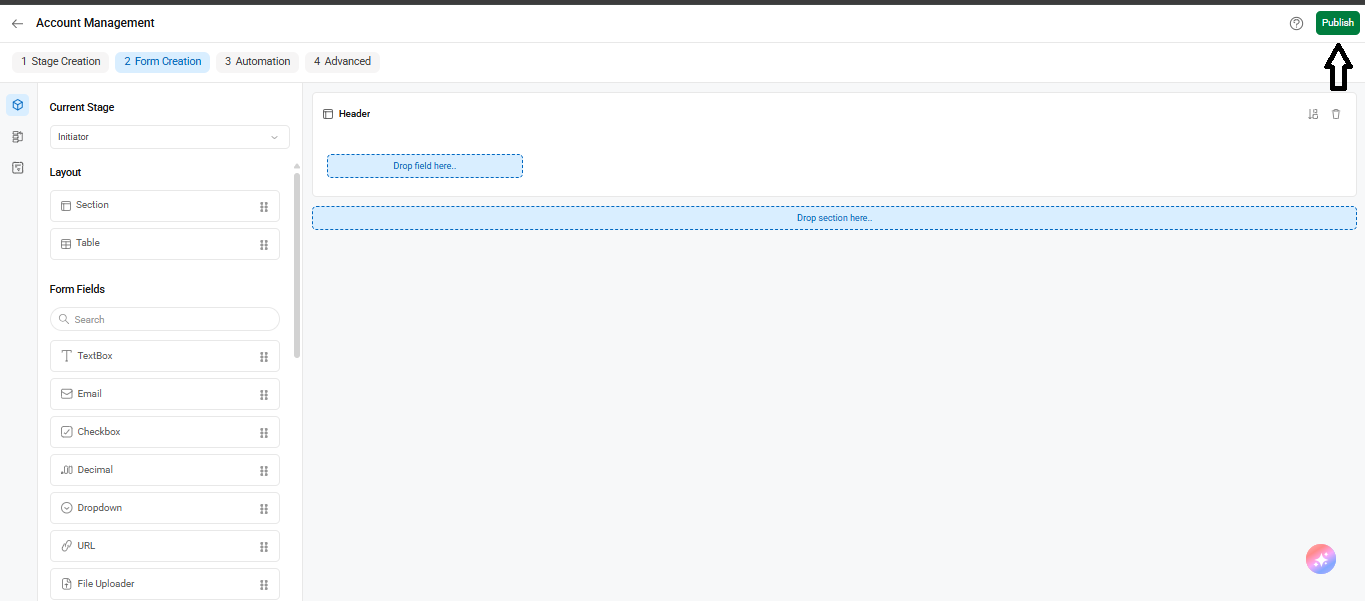
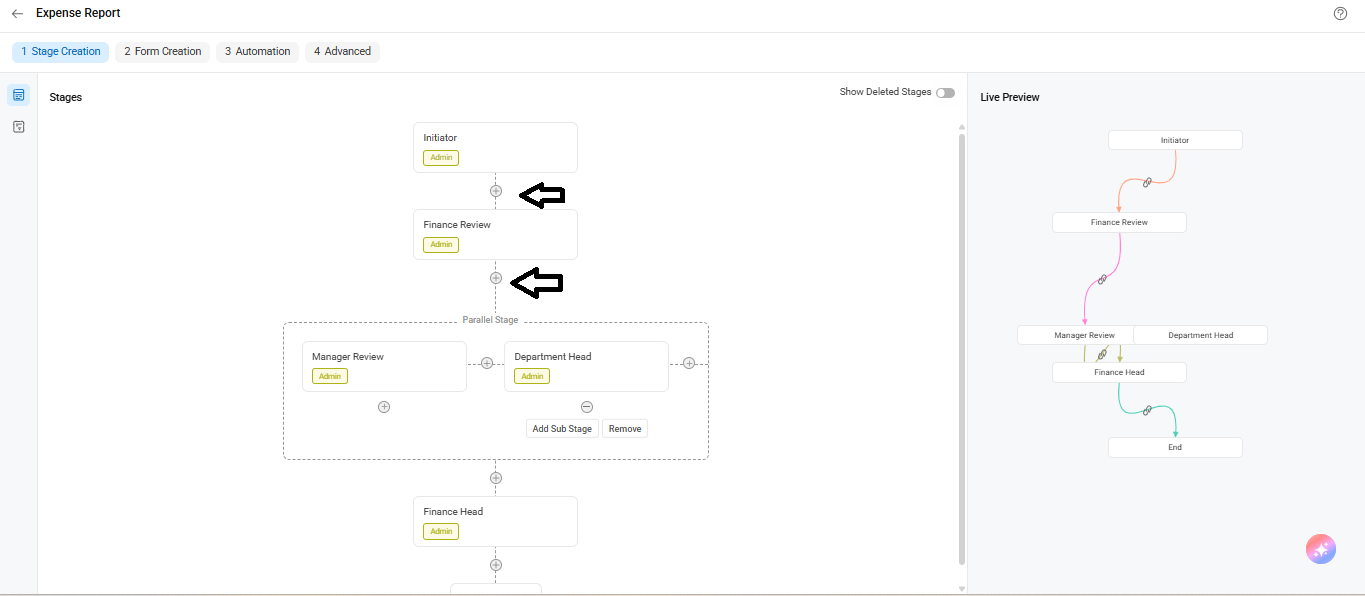
- In the Stage Creation tab, you’ll land on the visual designer. This screen shows a flowchart of the workflow.
- Use the plus (+) icons between boxes to add new stages.
- Each stage is shown in a connected layout that mirrors the process flow.
- You can create serial or parallel stages depending on how your workflow should route approvals.
- The Live Preview panel on the right shows a real-time path of the workflow.
- Configuring a Stage
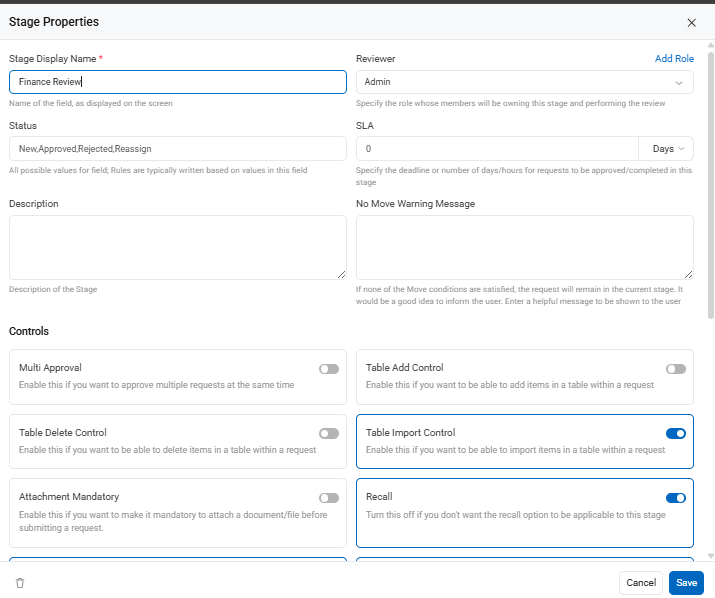
- Click the pencil icon on any stage to open Stage Properties.
Here, you can:
- Rename the stage (e.g., “Finance Review”).
- Assign a Reviewer role for the stage.
- Define Status values like New, Approved, Rejected, Reassign.
- Set a deadline using the SLA field.
Toggle additional options like:
- Attachment Mandatory
- Table Controls (Import, Add, Delete)
- Recall options
This ensures each stage behaves exactly as needed, with roles and rules defined.
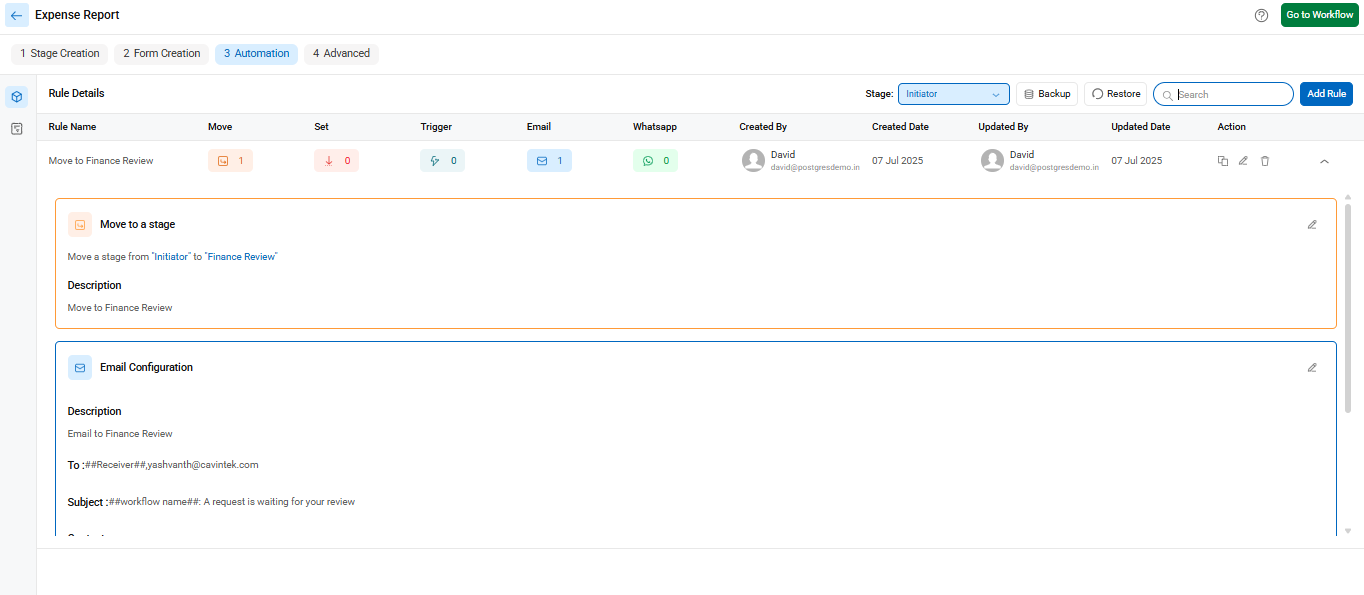
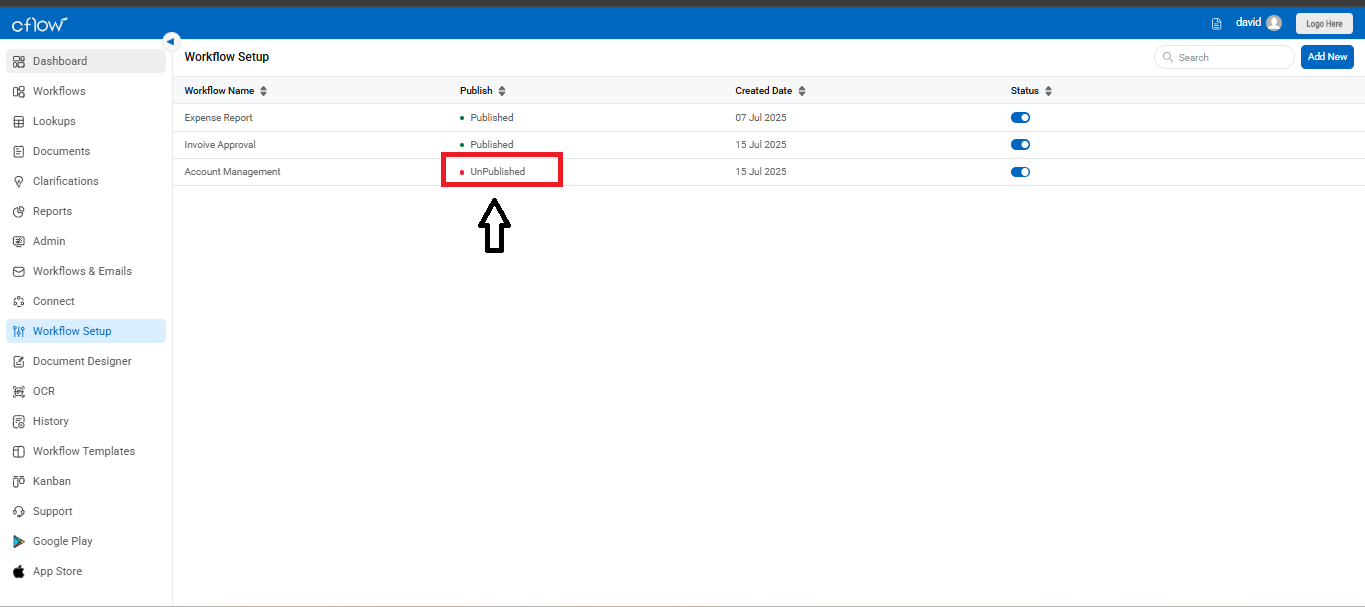
If your workflow is incomplete, save it as a Draft by clicking Save. It will show as “Unpublished” in the Workflow Setup list.
Once your workflow is ready, click the Publish button. This action finalizes the backend configuration and makes the workflow live for use.
After publishing, all future edits must be done through Workflow Setup to avoid breaking any active process logic.