To customize the behavior, appearance, and logic of fields in a form, Cflow offers a robust Field Properties panel with options grouped under Settings, Controls, Validation, and Advanced tabs.
Steps to Customize Fields in a Form
- Go to the Workflow Setup from the left panel.
- Select the required workflow (e.g., Expense Report).
- Click on the Form Creation tab.
- Select the stage (e.g., Initiator).
- Click on the field (e.g., Category) you want to customize.
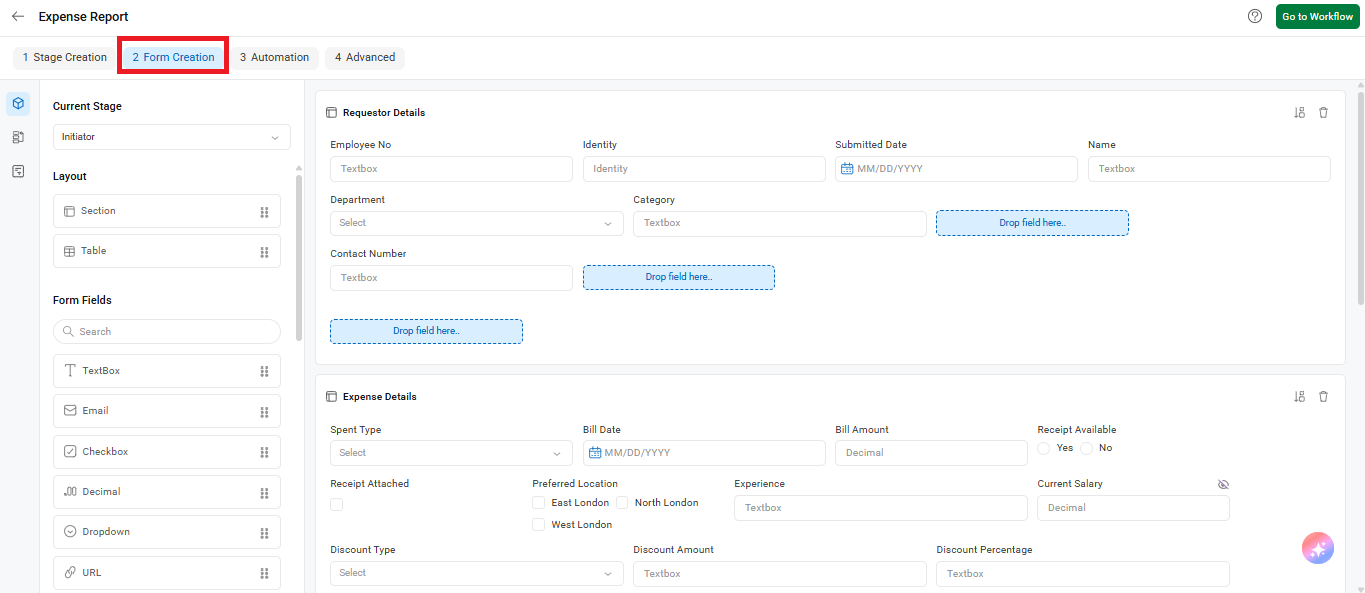
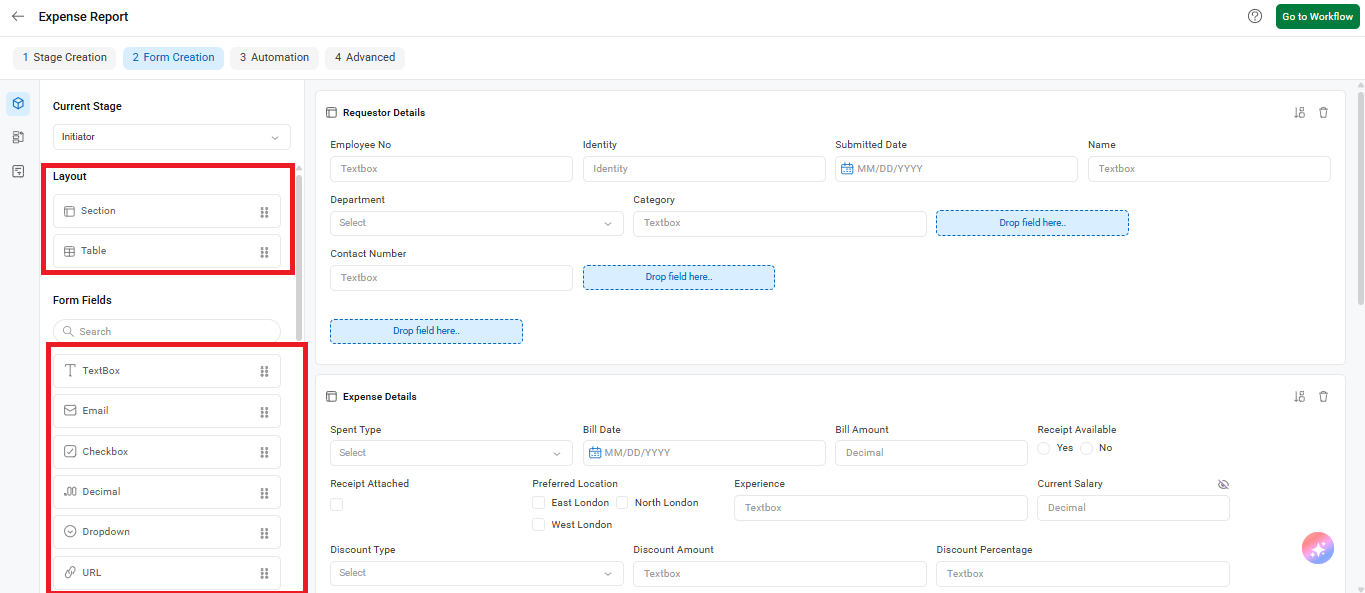
- The Field Properties panel opens where customization can be done.
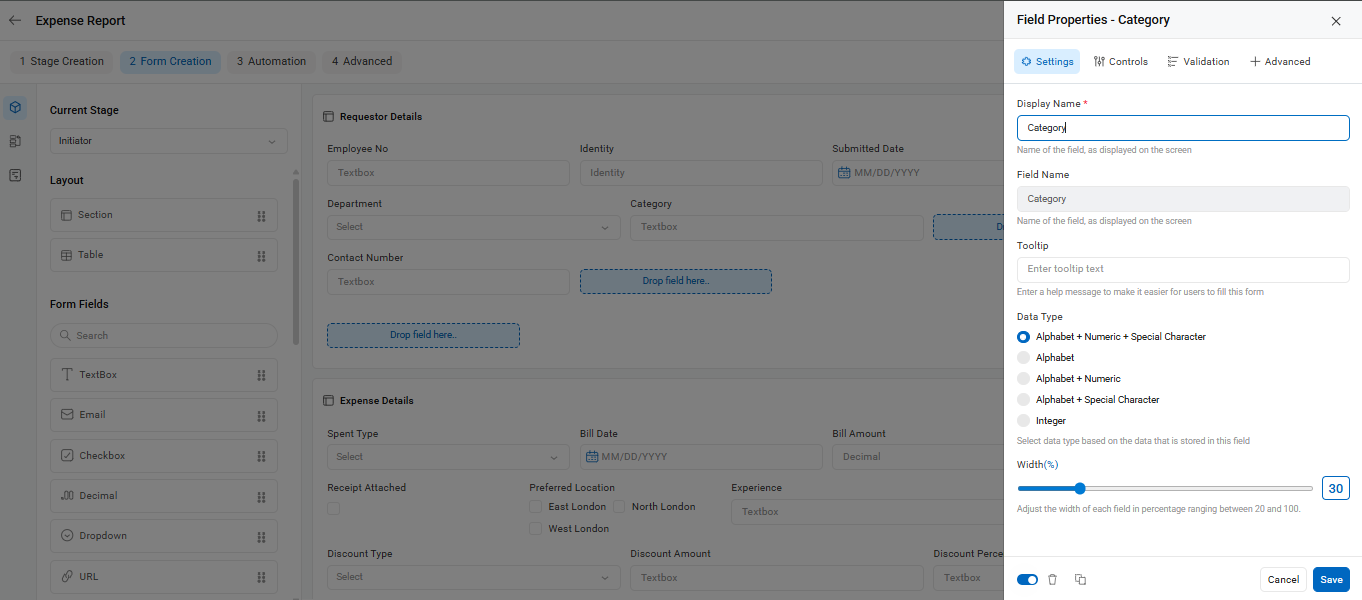
Field Settings Explained
Settings Tab
- Display Name: The label shown to users on the form. This is editable and can be renamed anytime.
- Field Name: The internal name assigned to the field. This is system-generated and cannot be changed later.
- Tooltip: Provide help text to guide users on how to fill the field. This appears as a small info icon next to the field.
- Data Type: Choose the type of input the field should accept:
- Alphabet + Numeric + Special Character
- Alphabet + Numeric
- Alphabet + Special Character
- Integer
- Width (%): Adjust the width of the field in percentage. For example, setting this to 30 makes the field occupy 30% of the row width.
Controls Tab
- Valid Values: Available for Dropdowns, Radio Buttons, Checkboxes, etc. Enter the list of acceptable options for the field.
- Default Value: Set a value that should appear by default when the form is loaded.
- Display in Grid: Enable this option to show the field in the Stage Inbox table view.
- Amount in Words: For numeric fields, this will convert the numeric amount into its word equivalent.
- Active: Toggle this setting ON to activate the field. You can turn it off later without deleting the field.
- Round Off: Rounds off decimal numbers to the nearest whole or decimal place.
- Show Total: Available only for decimal fields inside tables. You can link it to a field outside the table to show the calculated sum.
- Cumulative Field: Stores running totals based on each entry. Useful for keeping a log of field value additions over time.
Validation Tab
- Mandatory: Makes the field required. The form cannot be submitted unless this field is filled.
- Conditional Mandatory: Applies the mandatory rule only when specific conditions are met (e.g., if Department is ‘Finance’).
- Unique: Ensures that no two requests have the same value in this field.
- Read Only: Makes the field uneditable during certain stages.
- Conditional Read Only: Sets the field to read-only based on custom logic or field values.
- Visible: Controls whether the field should appear on the form.
- Conditional Invisible: Allows hiding the field during runtime when conditions are met.
Advanced Tab
- Arithmetic Operation: Perform math calculations using other fields (e.g., Quantity × Price = Total).
- String Concatenation: Merge two or more field values into one (e.g., First Name + Last Name).
- Date Calculation: Calculate date differences or future/past dates based on entered values.
Time Calculation: Subtract In Time from Out Time to determine working hours or shift durations.