Cflow allows you to define automation rules for each stage of a workflow. These rules can perform actions like moving a request to the next stage, setting field values, triggering new workflows, or sending email notifications based on specific conditions.
Steps to Configure a Rule:
- Navigate to Workflow Setup from the left-side menu.
- Click on the workflow you want to automate.
- Go to the Automation tab.
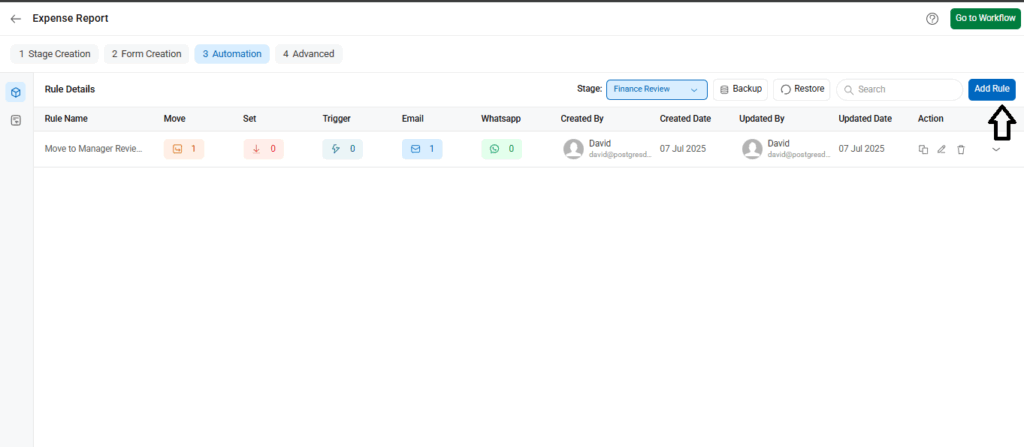
- From the Stage dropdown, select the stage where the rule should be applied.
- Click Add Rule on the top-right to create a new rule.
Setting Rule Conditions:
- Enter a Rule Name to identify the rule.
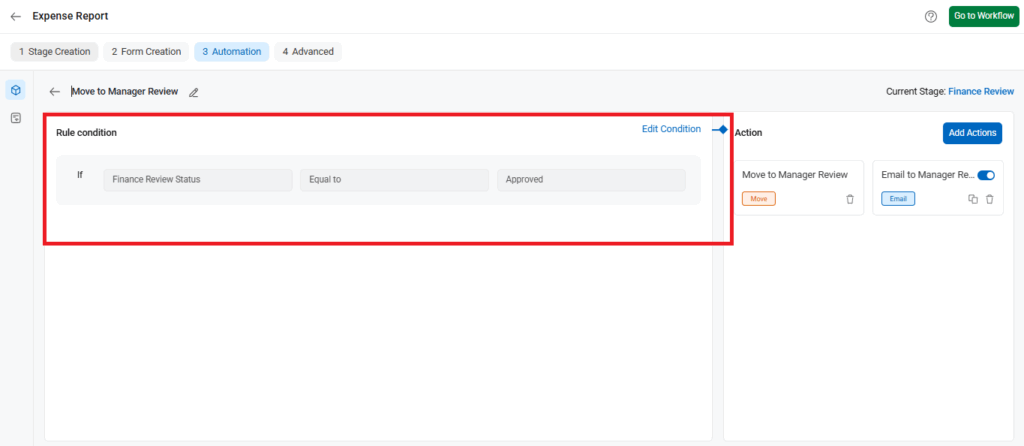
- Define the condition by selecting the field (e.g., “Finance Review Status”), the comparison operator (e.g., “Equal to”), and the value (e.g., “Approved”).
Adding Actions:
After defining the conditions, click Add Action to specify what happens when the conditions are met. Available actions include:
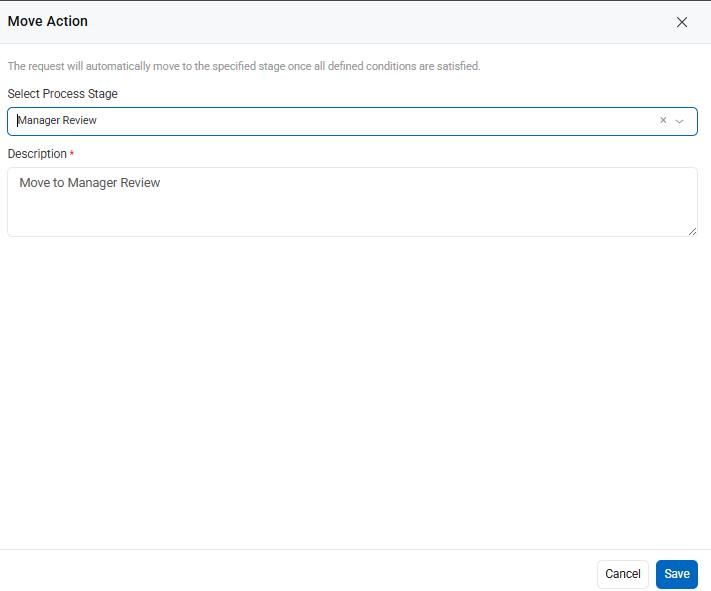
Move: Automatically moves the request to the next stage (e.g., Manager Review).
Set – Select the action type ‘Set’ if you want to set values of fields in the current workflow or in a different workflow.
Click here to know more about how to set field values.
Trigger – Select the action type ‘Trigger’ if you want to trigger a new request in the current workflow or a different workflow.
Click here to know more about triggering a new request in a sub-process.
Email – The email conditions would typically be the same as the conditions specified in the rules for a Move Action. This would send the email when a request moves from one stage to another.
Click here to know more about Email Settings.
Example: If “Finance Review Status = Approved,” move the request to the “Manager Review” stage.
Defining Rule Conditions with Table Fields and Nested Logic
- After clicking Edit Condition, you’ll be able to configure detailed rule logic for your automation.
- If your rule involves table fields, use the “Table Fields” dropdown to select the appropriate table.
- You can add rule conditions using the “Add Condition” button. To define logic with multiple rules, you can also click “Add Nested Condition” to group them using AND/OR operators for better control.
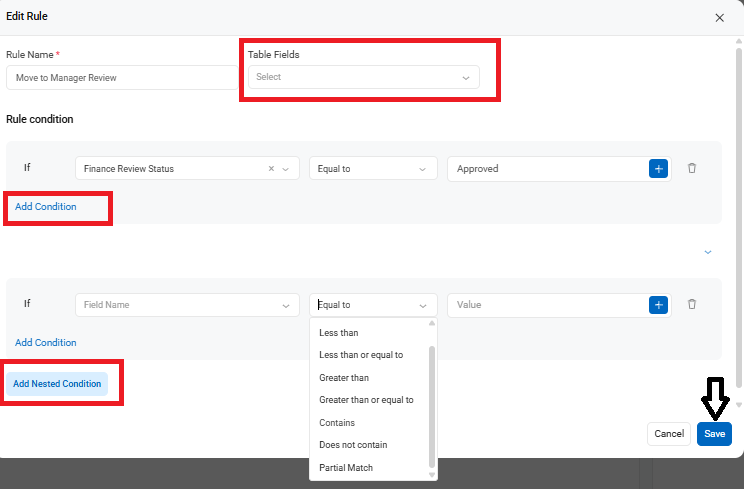
These conditions will be checked automatically whenever a new request is submitted. Click Save to apply the rule once all conditions are configured.