Overview
The API Trigger Button is a specialized field designed to invoke external APIs directly from a workflow form. This button is not for general form functions like navigation or submission—it acts as a dedicated interface for connecting your workflow to external services via the Connect Setup.
Key Features
- Dedicated API Invocation: Its sole purpose is to trigger a configured API call
- Controlled Use: Exclusively available as a field type within Workflow Setup → Form Elements
- Throttled Invocation: After a click, a 30-second cooldown timer prevents immediate re-clicking, ensuring controlled API usage
- Fixed Display: The button has a fixed width of 20%
1. Adding the API Trigger Button to a Form
You can add this field through the standard workflow setup process.
Steps
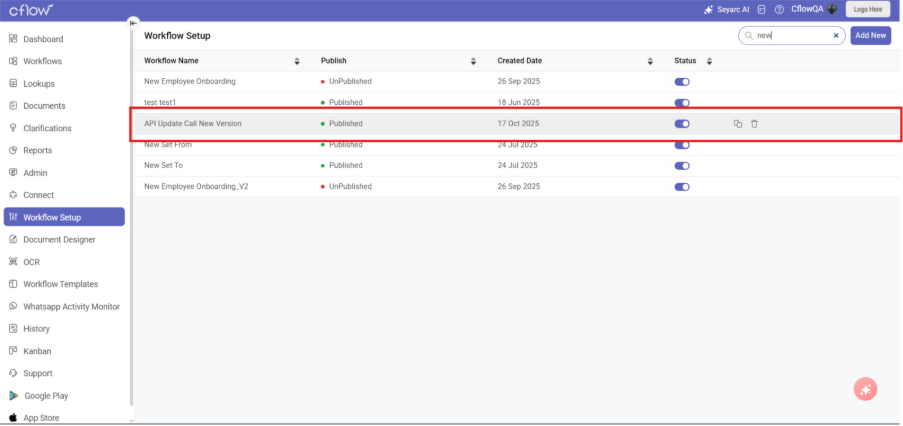
1. Navigate to Workflow Setup
2. Open the desired form for editing
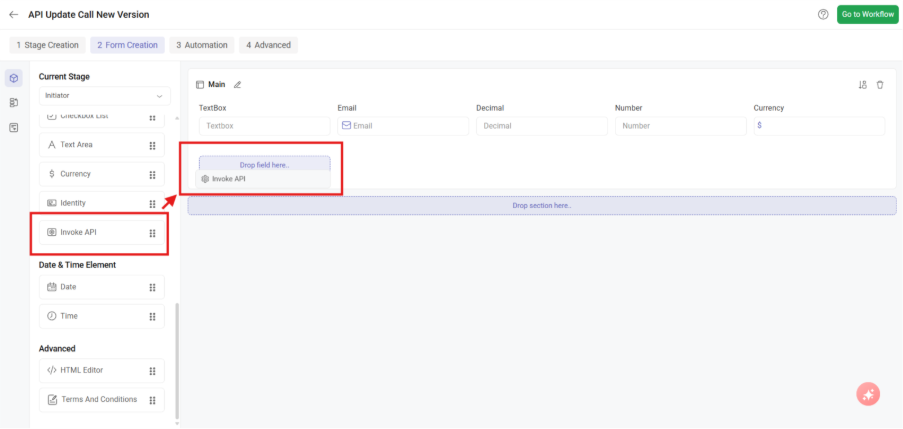
3. Click Add Field
4. In the Field Configuration pane:
- Set Field Type to Button
- Enter a Display Name (e.g., “Check Inventory Status”)
- The Field Name is the internal identifier
- (Optional) Add a Tooltip for help text on hover
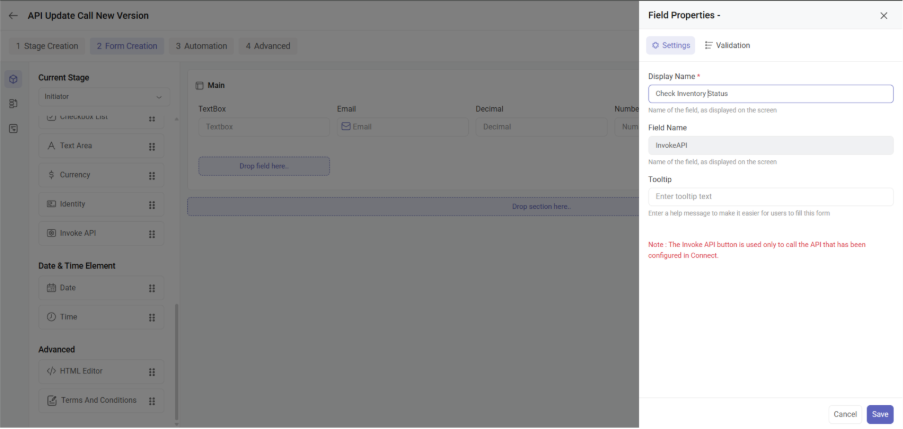
- Save the form
Configuration Properties
| Property | Details |
| Field Type | Button (Must be selected) |
| Display Name | The user-friendly text that appears on the form |
| Default Text | “Invoke API” (This is the button text before Connect is configured) |
| Width | 20% (Fixed and cannot be changed) |
2. Display and Validation Options
The API Trigger Button supports several validation and visibility controls to manage its appearance and usability.
| Option | Effect |
| Read Only | The button is visible but disabled regardless of the form state |
| Conditional Read Only | The button is disabled when a specified condition is met, and enabled otherwise |
| Visible | The default state; the button is visible |
| Conditional Invisible | The button is hidden from the form when a specified condition is met, and visible otherwise |
Note: The Controls Section and Advanced Section are not applicable to this field type.
3. Configuring the API Call (Connect Setup)
After adding the button to your form, you must map it to an API endpoint in the Connect Setup area.
Configuration Steps
1. Navigate to Connect → API Configuration
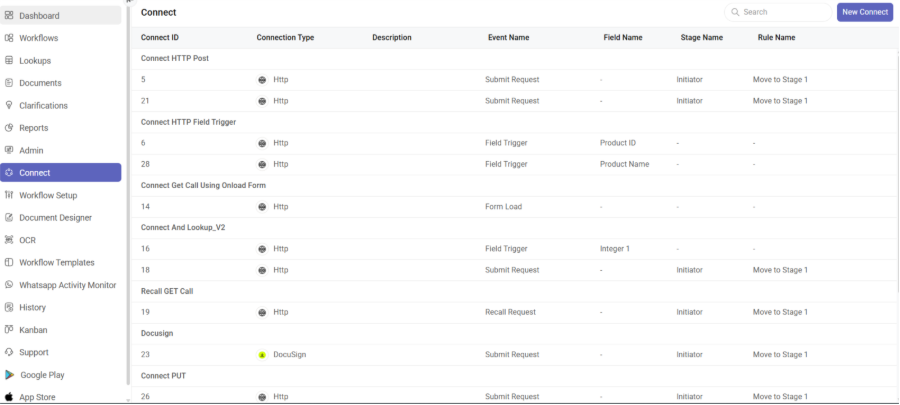
2. Locate the workflow and form containing the button
3. The button’s Display Name will appear in the list of field trigger options
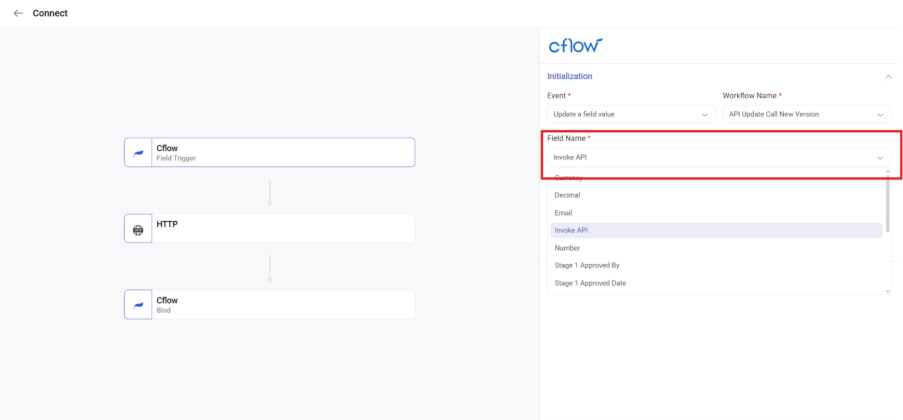
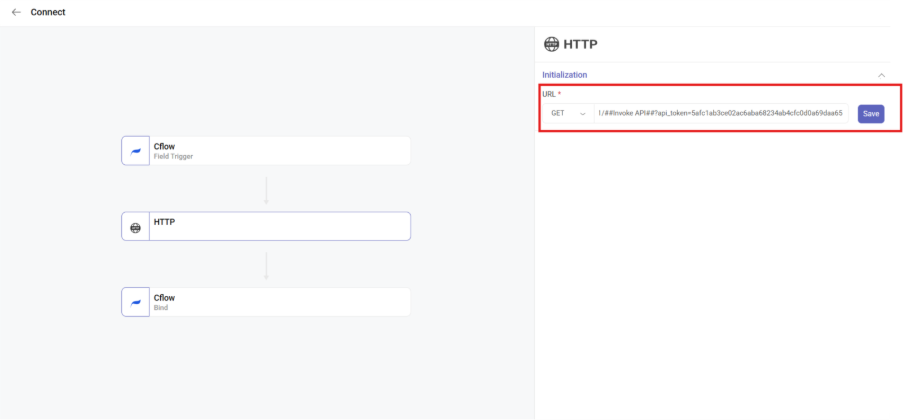
4. Configure the API endpoint, request method, and data mapping that should occur when the button is clicked
Important: The button’s API trigger configuration can only be performed in the Connect Setup.
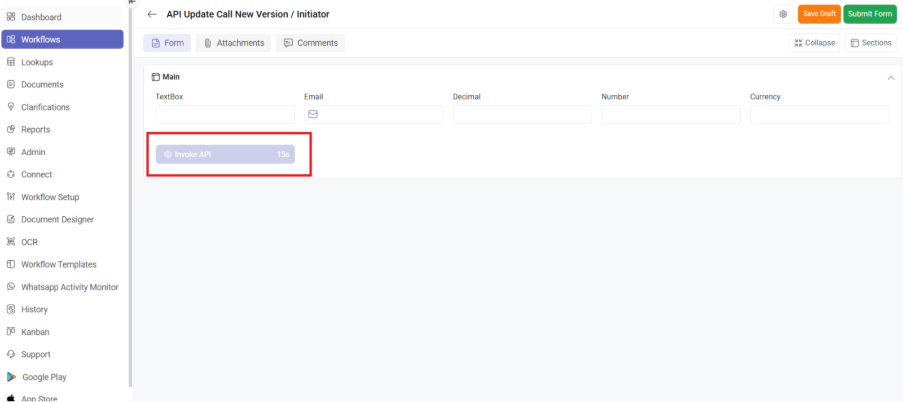
4. Button Behavior and Cooldown Timer
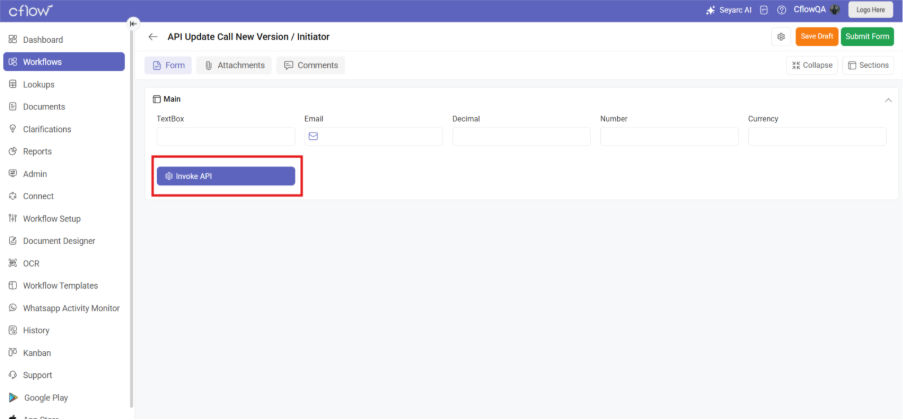
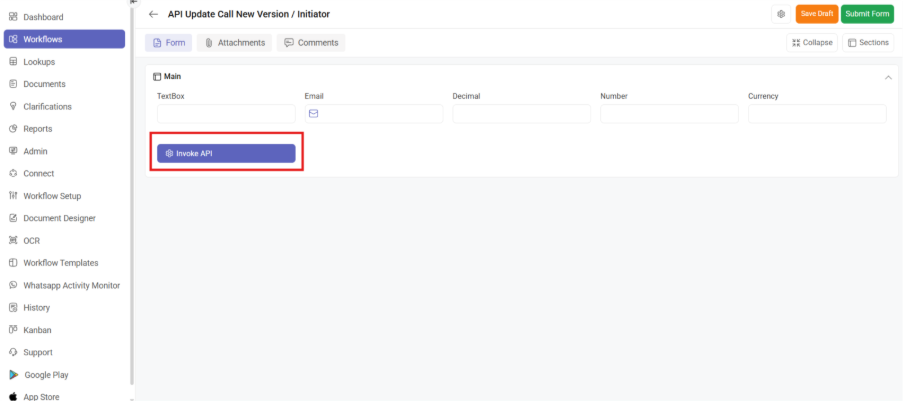
When the API Trigger Button is clicked, the following sequence occurs:
- 1. The configured API endpoint is called
- 2. The button immediately becomes disabled
- 3. A 30-second timer appears directly below the button
Cooldown Mechanism
To prevent overwhelming the target API, the button operates on a cooldown:
- Initial Click: The API is called, and the timer starts: timer: 30s
- During Cooldown: Any subsequent clicks within the 30-second period will be ignored, and the button will remain disabled
- Cooldown End: Once the timer counts down to 0s, the button automatically becomes enabled again, allowing it to be clicked to invoke the API once more
Best Practices
- Clear Naming: Use descriptive Display Names that indicate the API action (e.g., “Validate Address”, “Check Stock Levels”, “Send Notification”)
- Tooltip Guidance: Add tooltips to explain what the API call will do and any prerequisites
- Conditional Visibility: Use conditional invisibility to hide the button when it’s not relevant to the current workflow state
- Error Handling: Ensure your API endpoint configuration includes proper error handling and user feedback
- Rate Limiting Awareness: The 30-second cooldown is built-in, but consider additional rate limits on your API endpoint