Getting Started with Cflow: Creating Your Free Account
Follow these simple steps to create your free account and start your journey with our no-code cloud BPM platform.
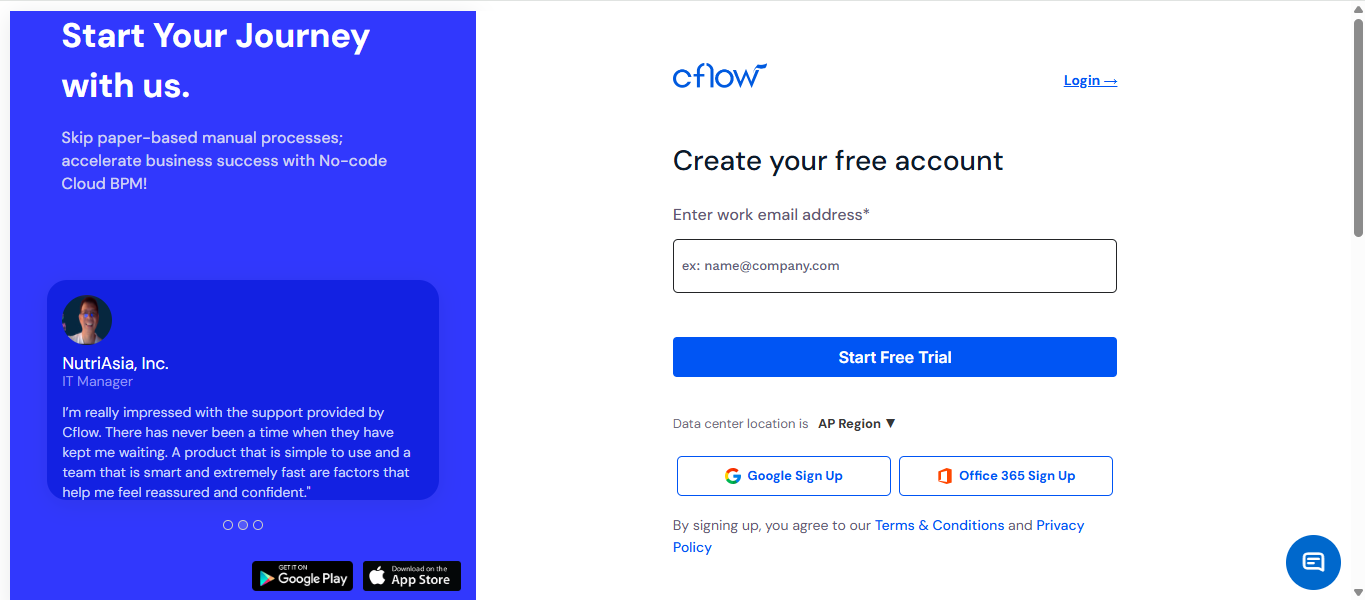
- Navigate to the Cflow sign-up page where you’ll see the “Create your free account” section on the right side of your screen.
- In the provided input field, type your work email address (e.g., name@company.com). This will be your primary login credential for accessing Cflow.
You can start your free trial in one of the following ways:
Click “Start Free Trial” after entering your email to proceed with a standard sign-up.
Alternatively, sign up using your existing accounts:
- Google Sign Up
- Office 365 Sign Up
-
- Select Your Data Center Region – Click the dropdown labeled “AP Region” to choose your preferred data center location. This helps optimize performance and comply with local data policies.
- Review Terms and Privacy – Before signing up, review our Terms & Conditions and Privacy Policy (links available right below the sign-up buttons). By signing up, you automatically agree to them.
- Mobile App Availability – Download the Cflow mobile app on Google Play or App Store, ensuring you can access your workflows on the go.
- User Testimonial – Cflow is trusted by professionals like NutriAsia Inc.’s IT Manager, who highlighted the platform’s simplicity, smart team support, and quick responsiveness, giving you added confidence to begin.