You can specify the trigger event in third-party applications in order to perform an action in Cflow. You can click on the Use this Zap button if you want to use one of the pre-defined templates that are listed.
Follow the steps below to create a new zap and set up the trigger and action in Zapier.
Set up Trigger:
Select a third-party application as the Trigger app.

Select the trigger event in the third-party application and click on the Continue button.

Click on the Connect an Account button and enter the login credentials you use for the third-party application. Click on the Test button to perform the test with the account you connected. If the test is successful, it shows a success message.

Pick a recently created sample from the third party application to set up your zap and click on the Continue button.

Set up Action:
Select Cflow app as the Action app.

Specify what kind of action needs to be performed in Cflow from the following options. The actions that are supported in Zapier are (1) Create a Draft Request, (2) Create a Request and Submit.

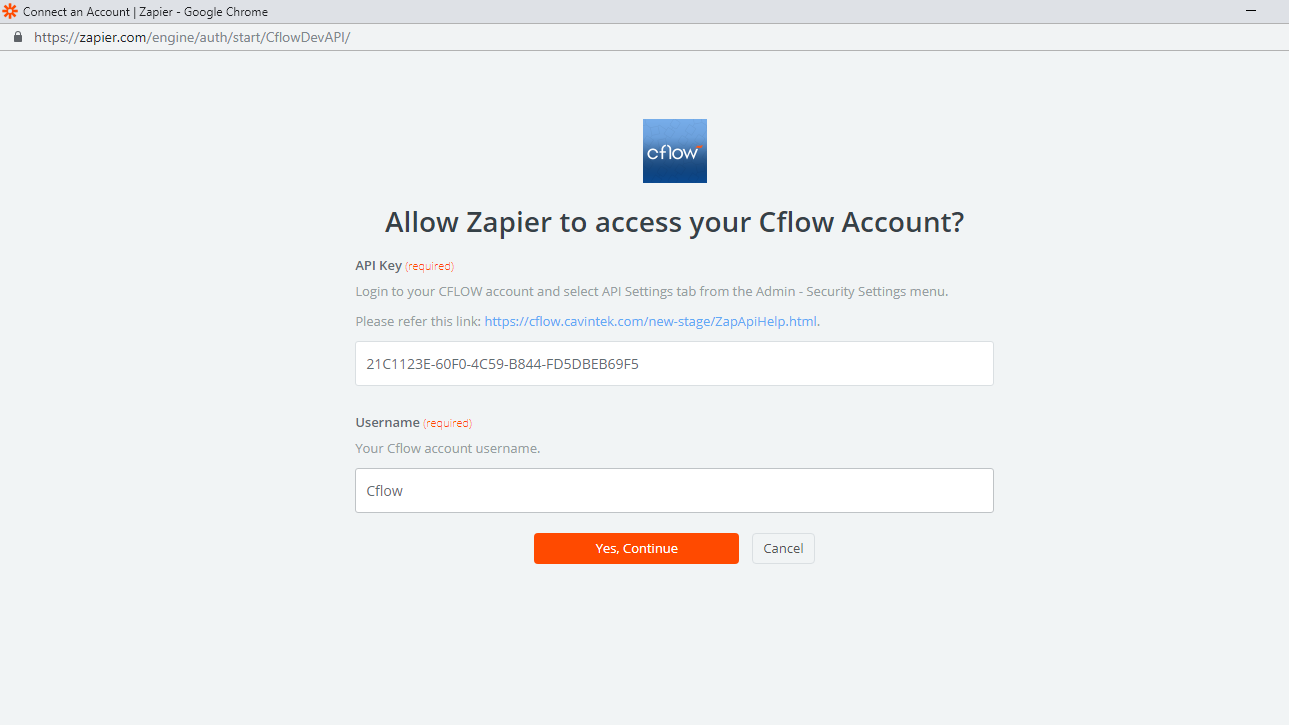
Click on the Connect an Account button to connect with your Cflow account, paste the API key and enter the username of the account. API key can be copied from the Security Settings -> API Settings.

Set up the template for Cflow account to perform an action, select the fields from the drop-down options available and click on the Continue button.

Click on the Send Test To Cflow button to pull the selected fields from the triggered app. Click on the Finish button if the Test is successful.

Give a name to your Zap and turn on the toggle to make your Zap active. While on, this zap will automatically check for your triggered app every 5 minutes and pulls in any records available.

