Cflow allows you to import data into your workflow using the Excel Import feature. This helps in bulk uploading field values into a workflow from an Excel file.
Steps to set up Excel Import:
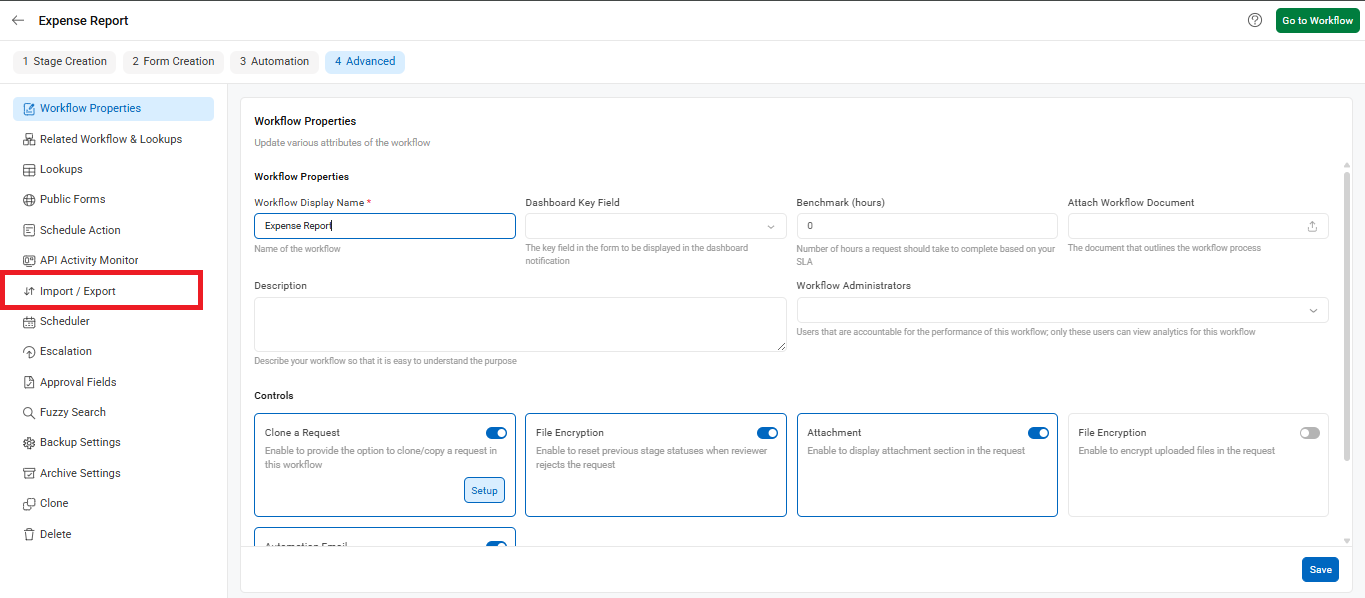
- Navigate to Workflow Setup from the dashboard.
- Select the desired workflow and click on the Advanced tab.
- From the left menu, choose Import / Export.
- Select the Initiator stage from the list of stages.
- Click on the Excel Import tab.
- Click on Add New to add the fields that you wish to import from your Excel sheet.
- Once you’ve added the required fields, click Save.
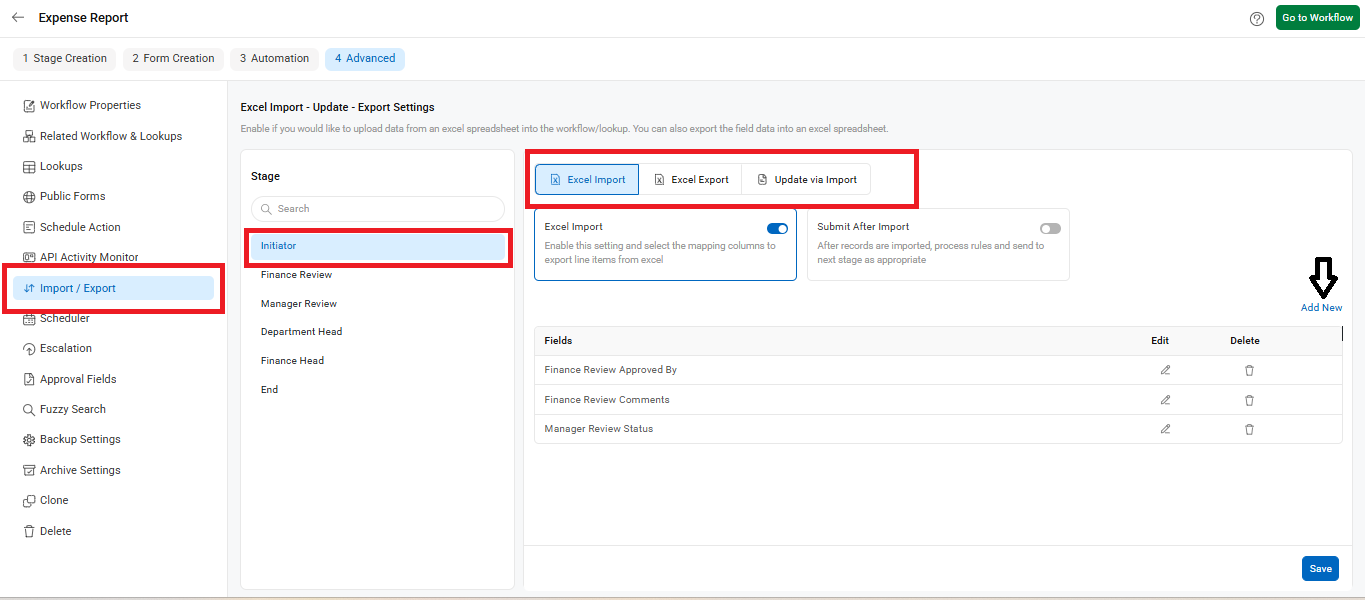
Note: Excel Import can only be configured at the Initiator stage in a workflow. Ensure your Excel file matches the mapped fields in Cflow.