To configure scheduled actions (auto-approvals) in Cflow, follow these steps –
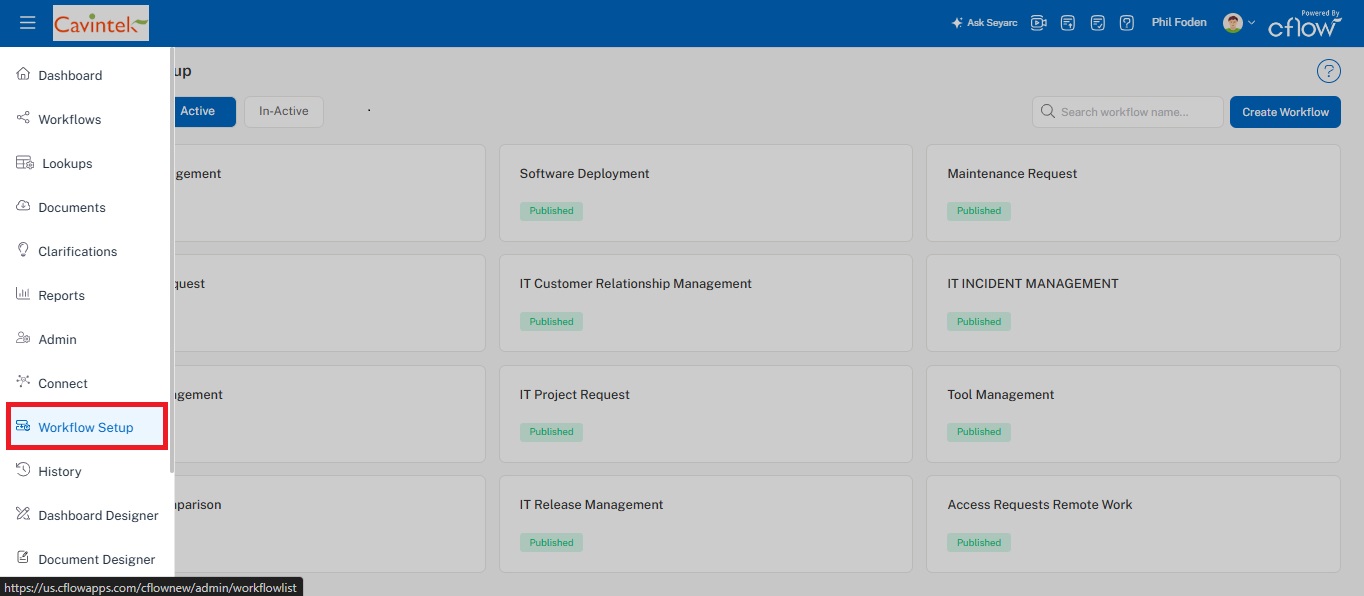
1- Click on workflow setup from the dashboard.
Cflow provides a Scheduler feature to plan an action to be performed at a particular time. You can specify time based conditions as well as regular conditions in the scheduler. You can perform the following actions – Move data to process step, Set field values and Trigger new process. Actions are performed and Email notifications are sent if the specified conditions are satisfied.
- Select Admin -> Workflows.
- Click on a workflow.
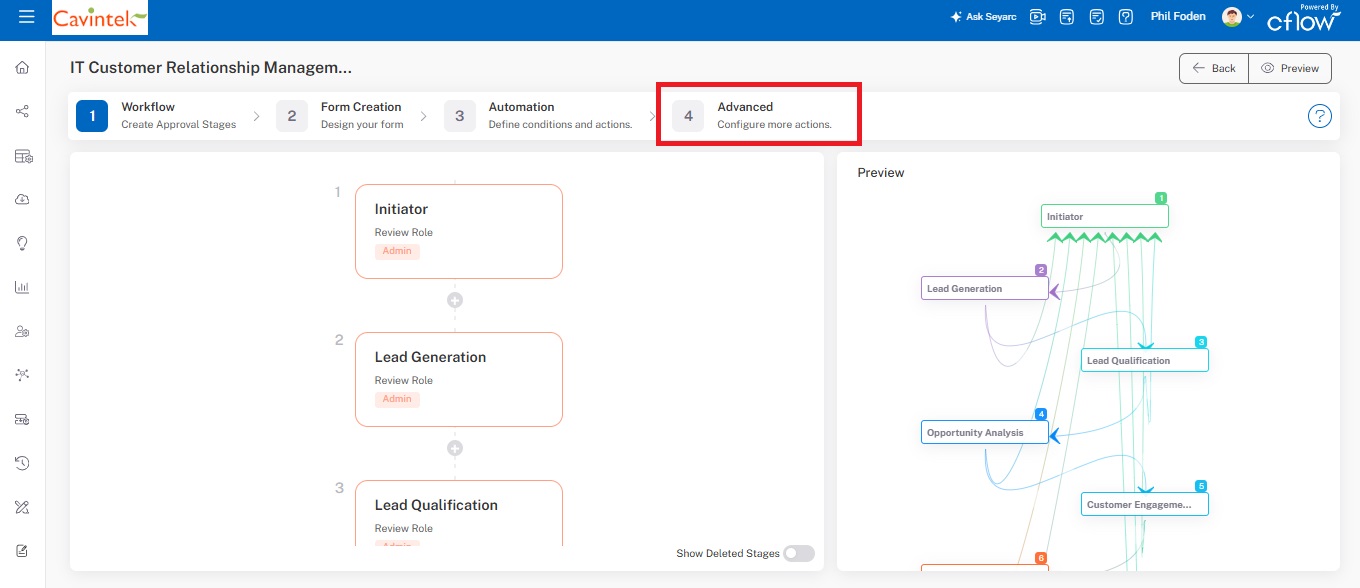
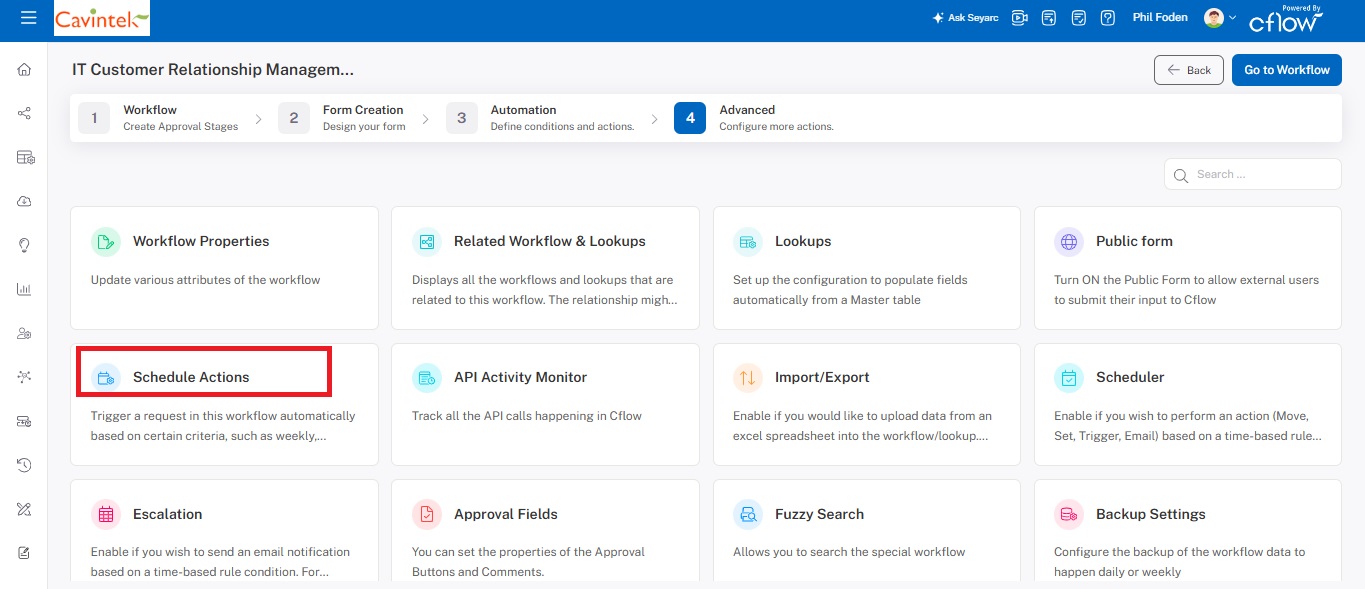
- Select a process stage. Click on the Scheduler icon to configure the conditions and actions to be performed.
You can configure the scheduler in any of the process stages. The request in those process stages will be evaluated by the scheduler.
List View of Workflow Stages:
Note: You can also customize the workflow stages view by clicking the Flowchart view button on the top right corner. This shows all the workflow stages in the form of flowchart. Click on the initiator/reviewer stage and all the relevant menu options are shown on the left side.
The scheduler is typically used for set actions that need to be performed based on certain time conditions. An example is Auto approvals. Here, the scheduler helps to move the request to the next stage based on the time conditions so that the request will not remain pending in the same stage for a long time. The request is automatically approved in the current stage and moved to the next stage.
For instance, imagine a situation where the request is waiting for the Manager review and the SLA is two days. If the Manager has not approved the request within 2 days from the date of submission, the request will be automatically approved and moved to the next stage of Department Head Review. You can specify the conditions as shown in the picture below.
The below screenshot illustrates the conditions specified to move from one process stage to another process stage:
Configuration 1:
 The below screenshot illustrates the conditions specified to set the field values automatically when it is moved from one process stage to another process stage:
Configuration 2:

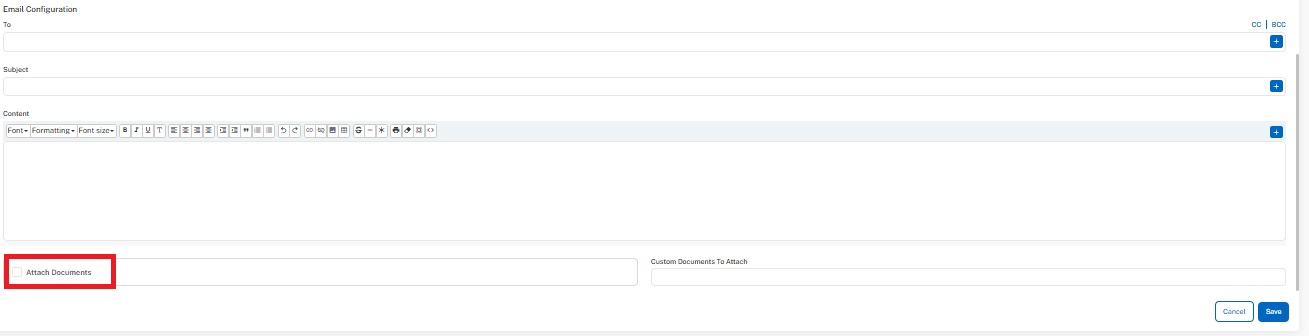
You can configure the email notifications. Specify the email id in the To field and enter the subject of your message in the subject field. Type the email content and you can change the look and feel as well as the formatting of the email using the various controls. Turn on the toggle Hourly to receive notifications every hour.

Turn on ‘Attach Documents‘ to send the attachments that are uploaded in the form via email. You can also send the designed custom pdf attachments via email.
Turn on the toggle SMS Configuration to send the notifications via SMS.